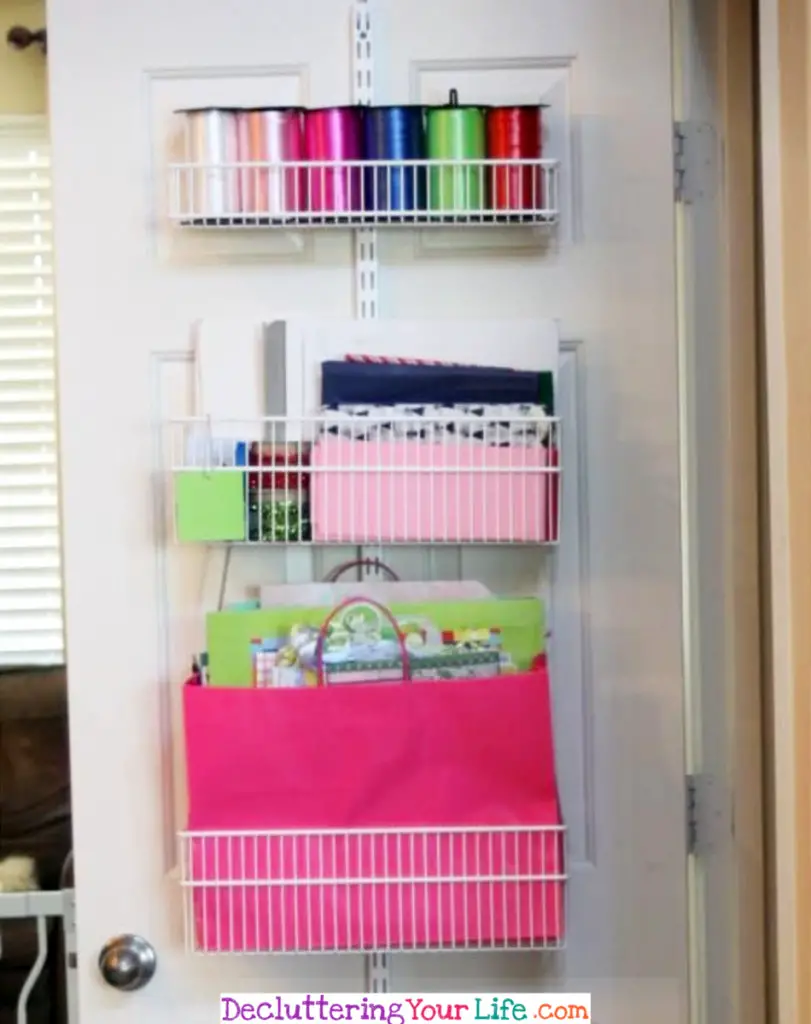
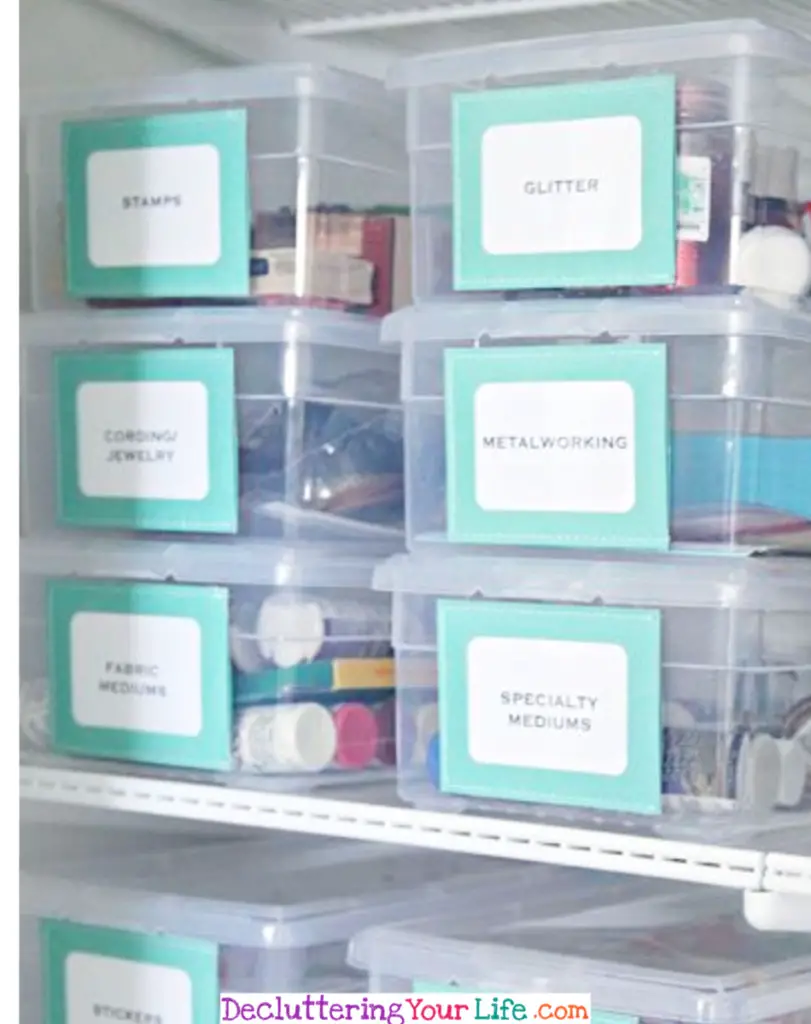
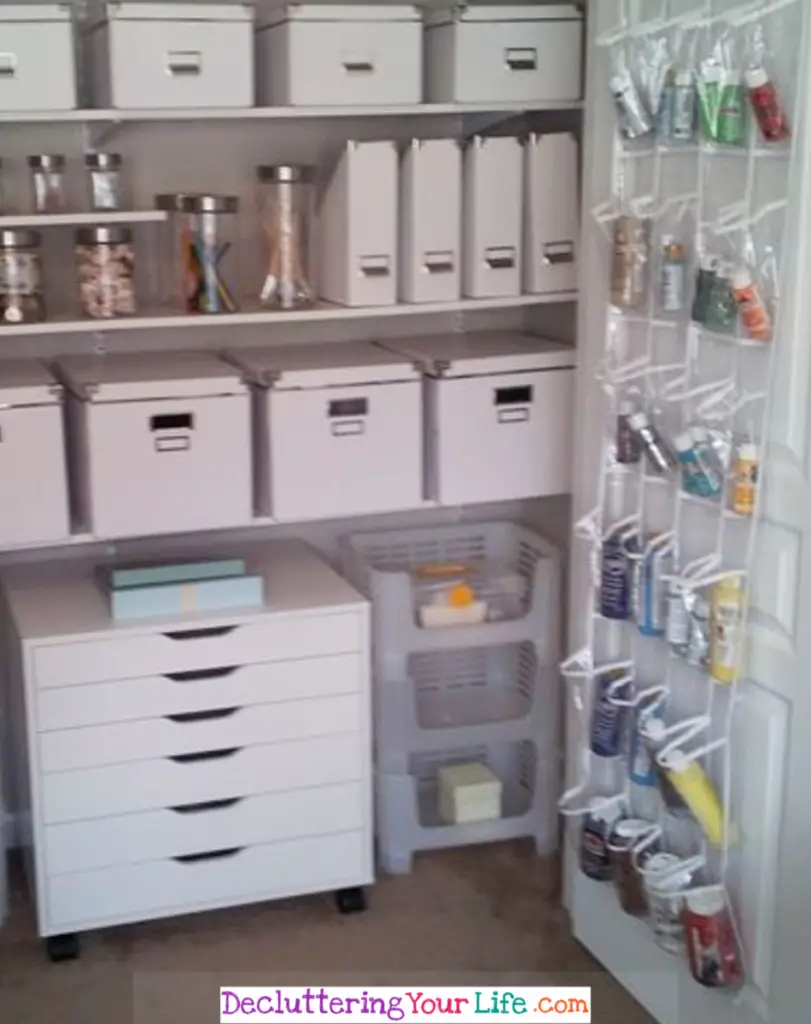
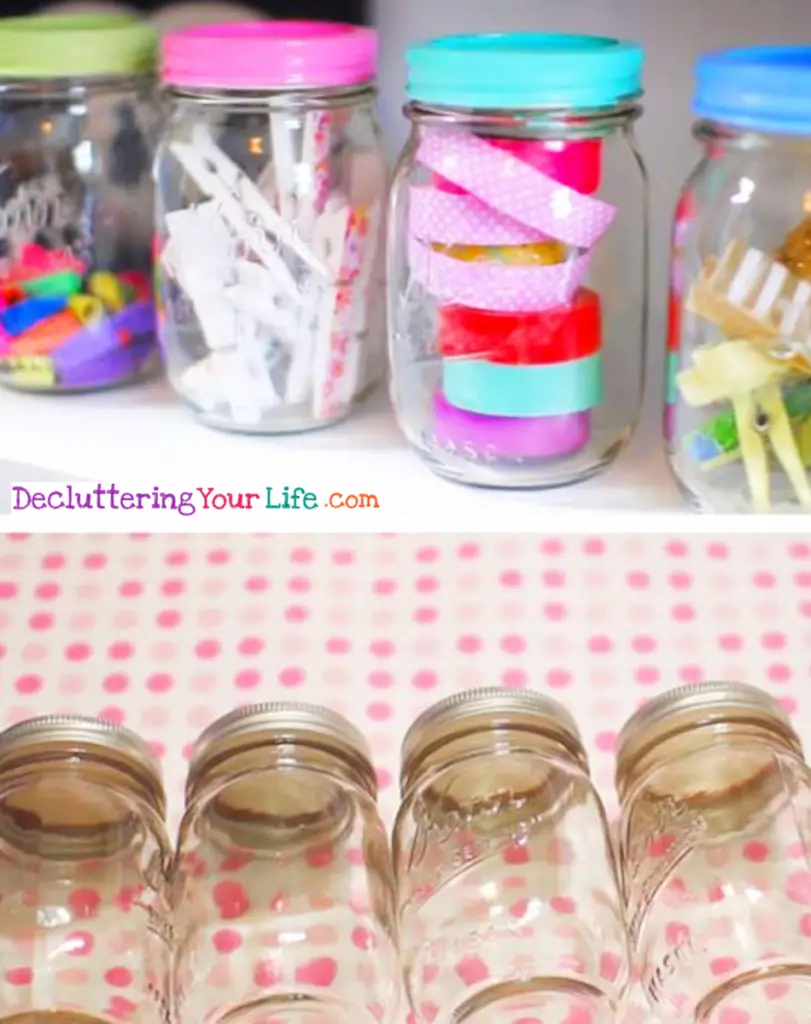
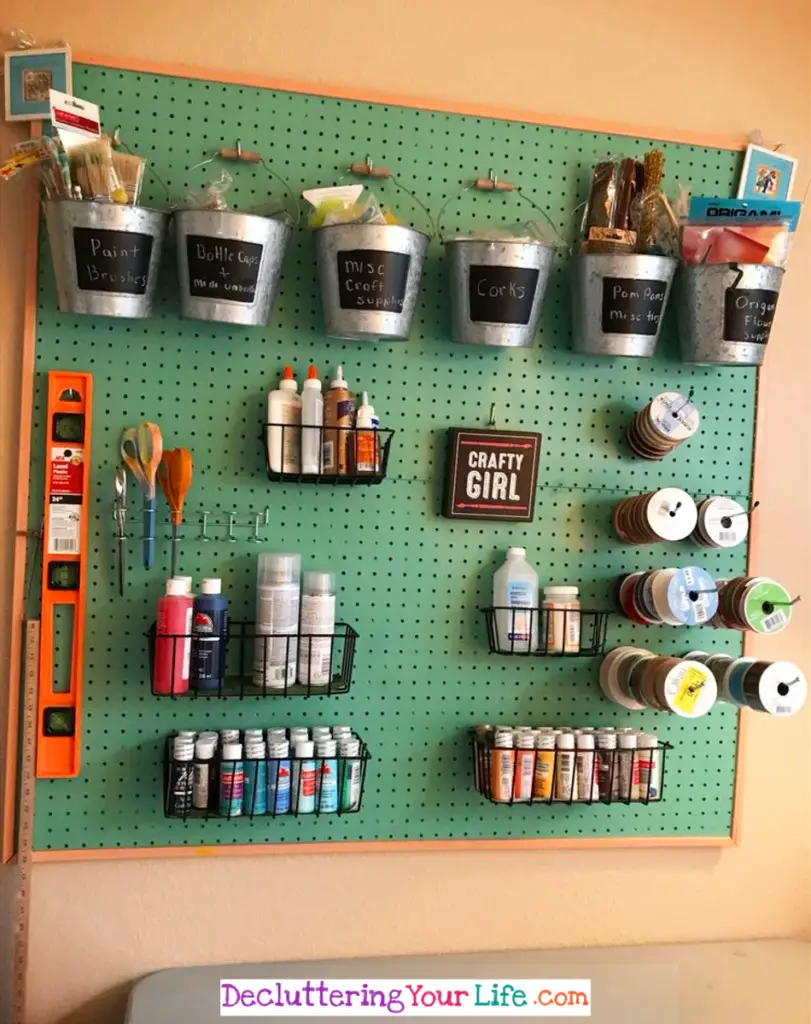
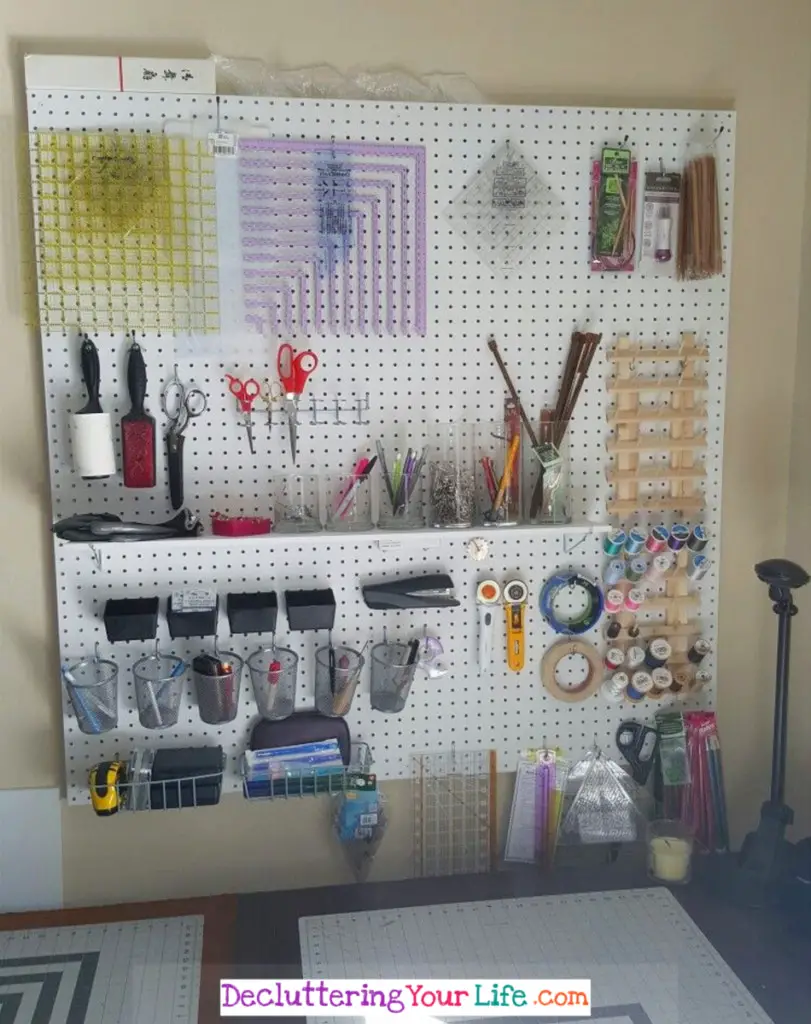
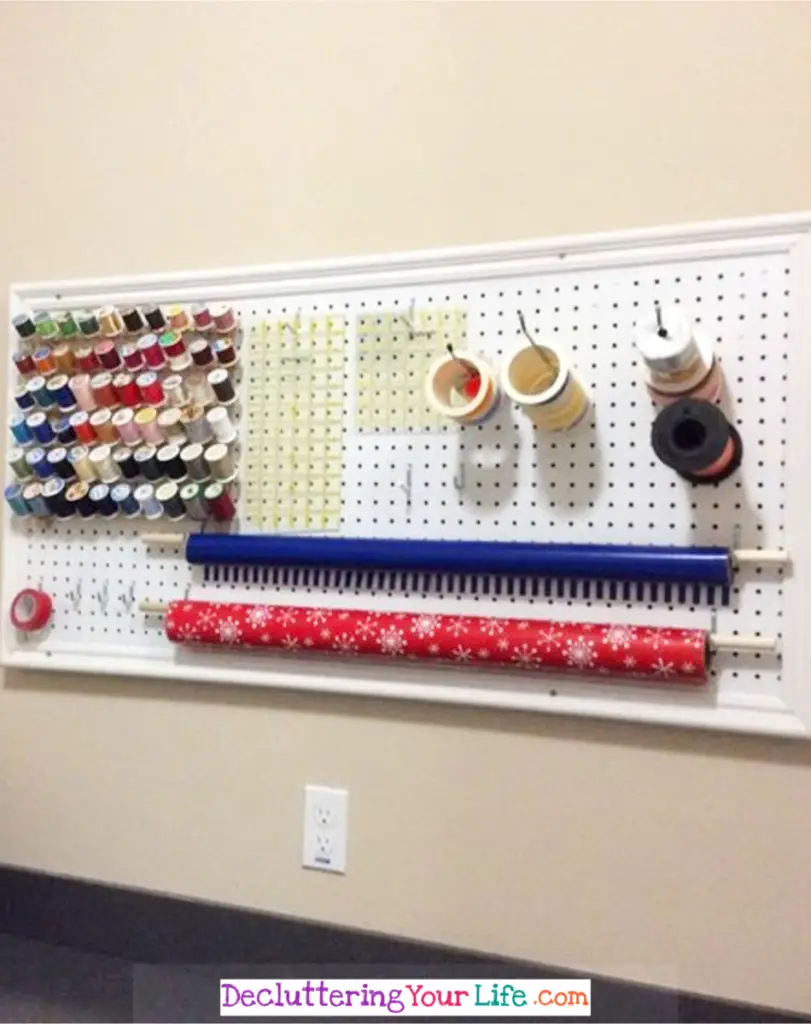
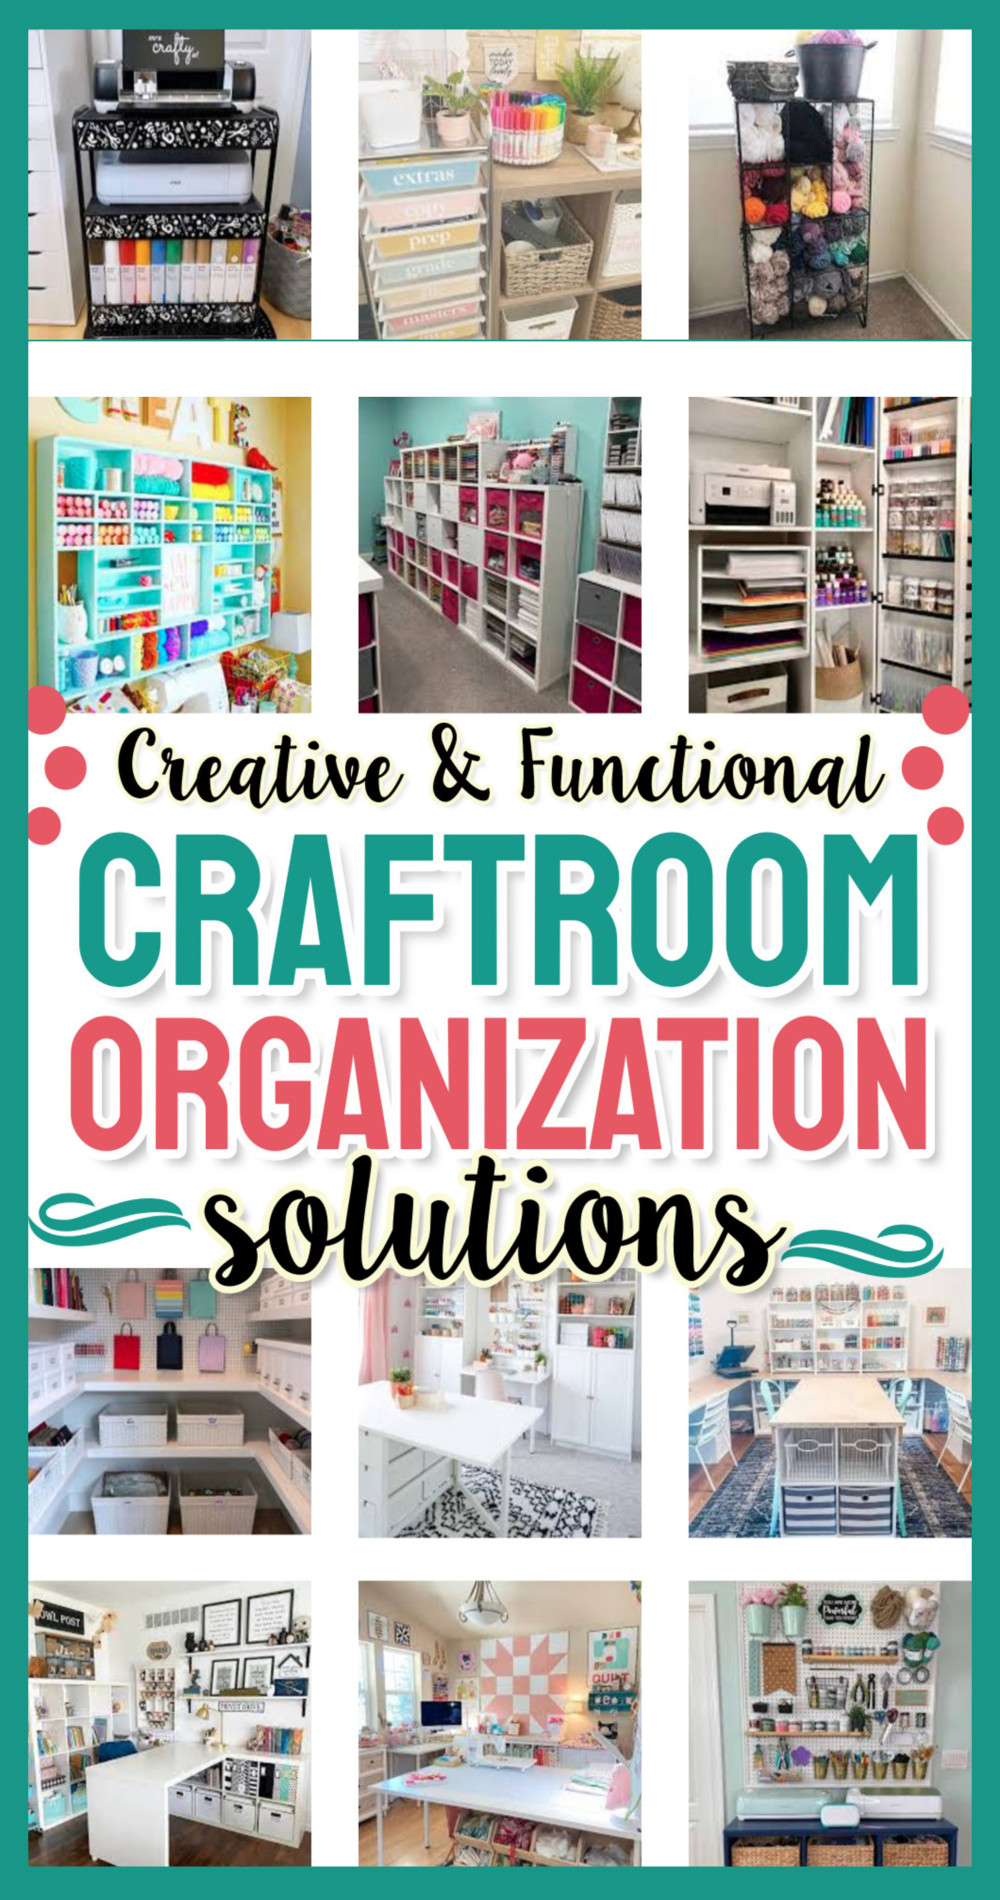
Craft Room Ideas, Designs, Layouts & Creative DIY Organization Set Up Hacks For Organizing Your Craft & Sewing Supplies on a Budget –
Whether you use your craft room for crafts, for knitting, for scrapbooking, as a sewing room, as a hobby room or as a gift wrapping room, below are some genius tips to declutter and organize your work space AND some beautiful craft room storage solutions for ALL your craft clutter.
Hey, your craft room is YOUR Mom Cave – YOUR retreat… let’s make it organized and BEAUTIFUL!
Welcome to Decluttering Your Life - we hope you enjoy our quick decluttering tips, organization ideas and simple DIY solutions for your home - posts may contain ads & affiliate links - that's how we keep the lights on =)
Get 25% Off ALL Printables and Planners with discount code: MOMHACKS
=> See all printables here
If your craft room or crafting area is such a cluttered mess that you cringe when company comes (or if you keep the door shut and avoid entering the room), it is definitely time to get organized!
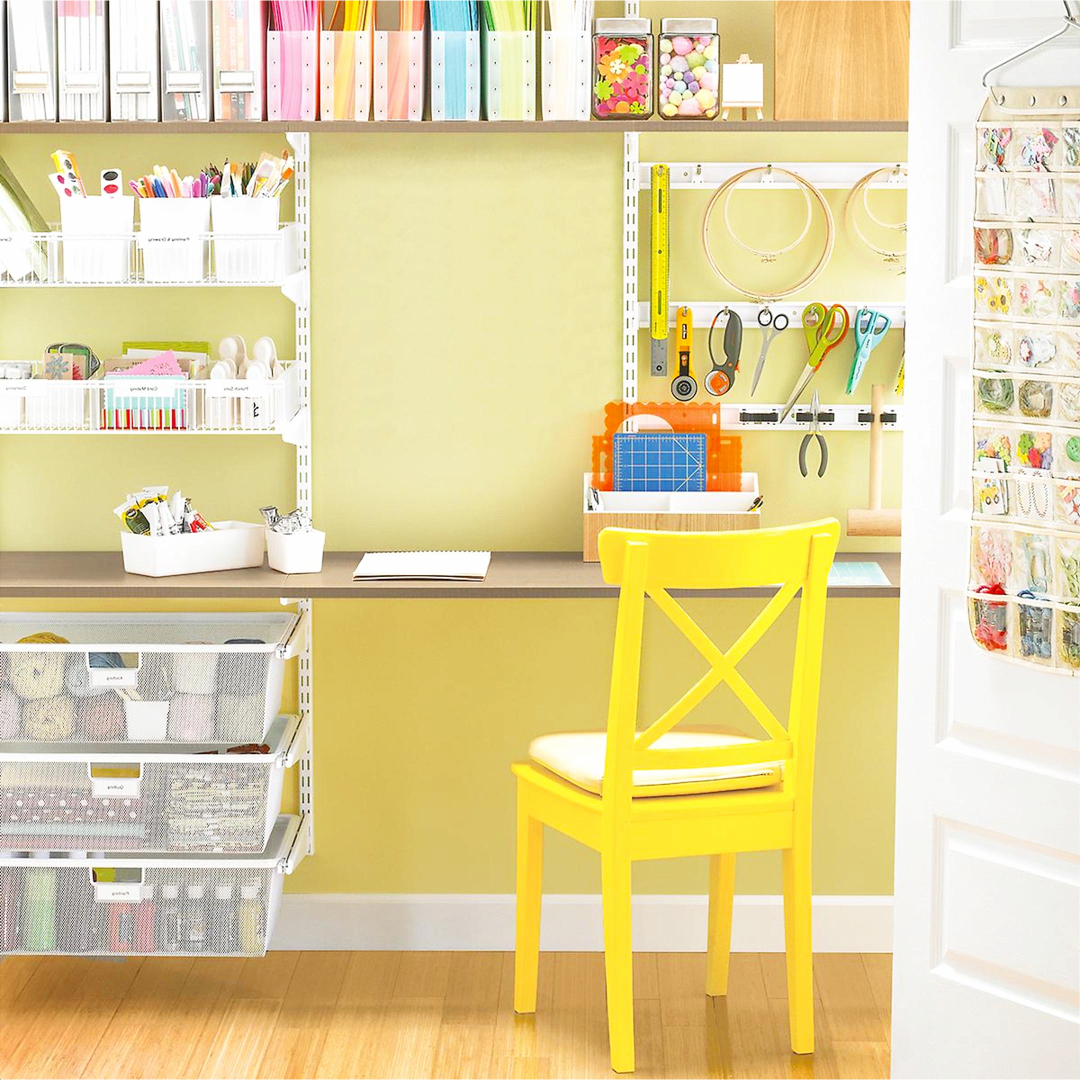
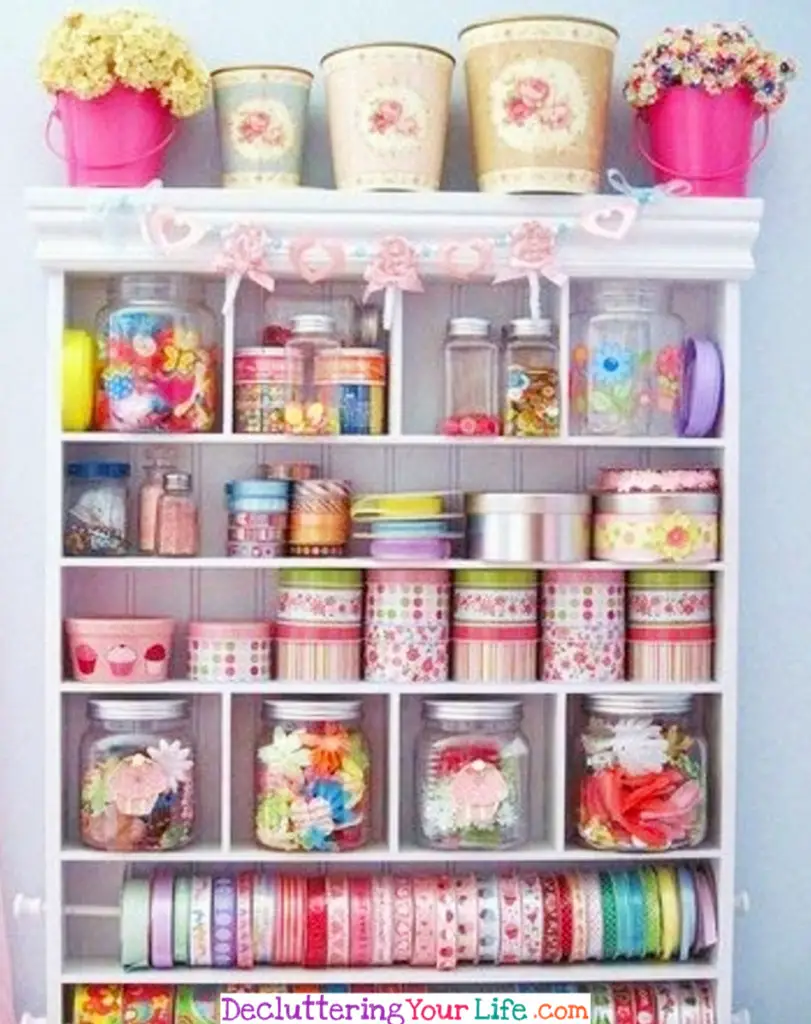
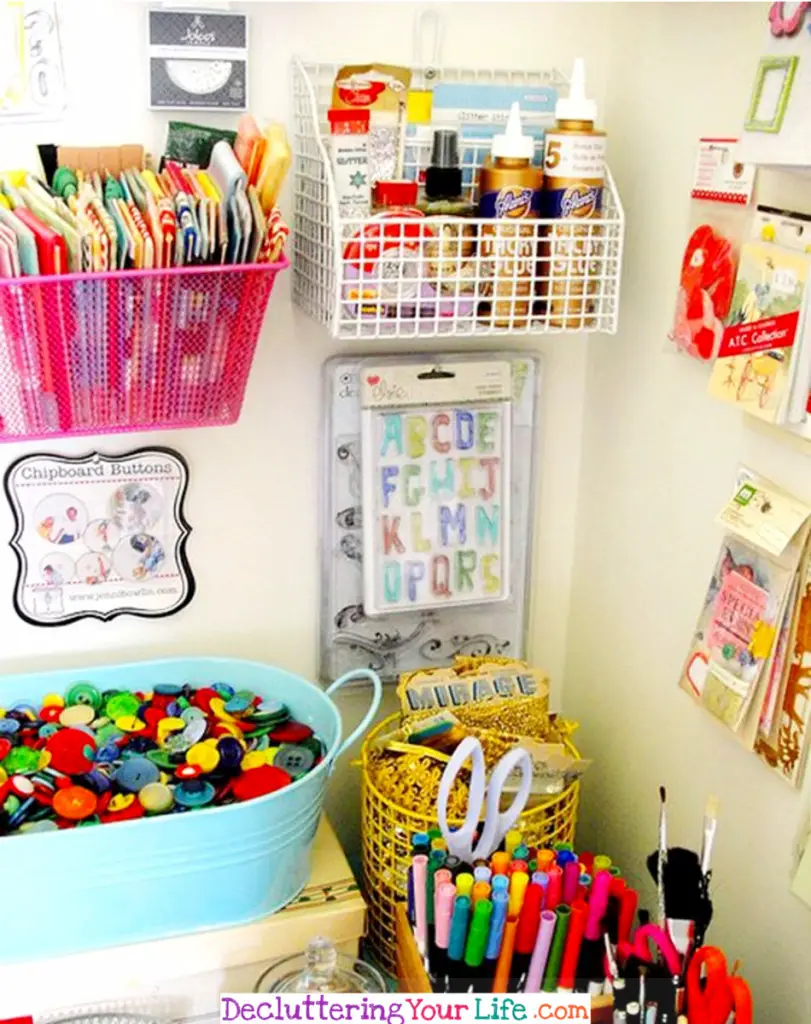
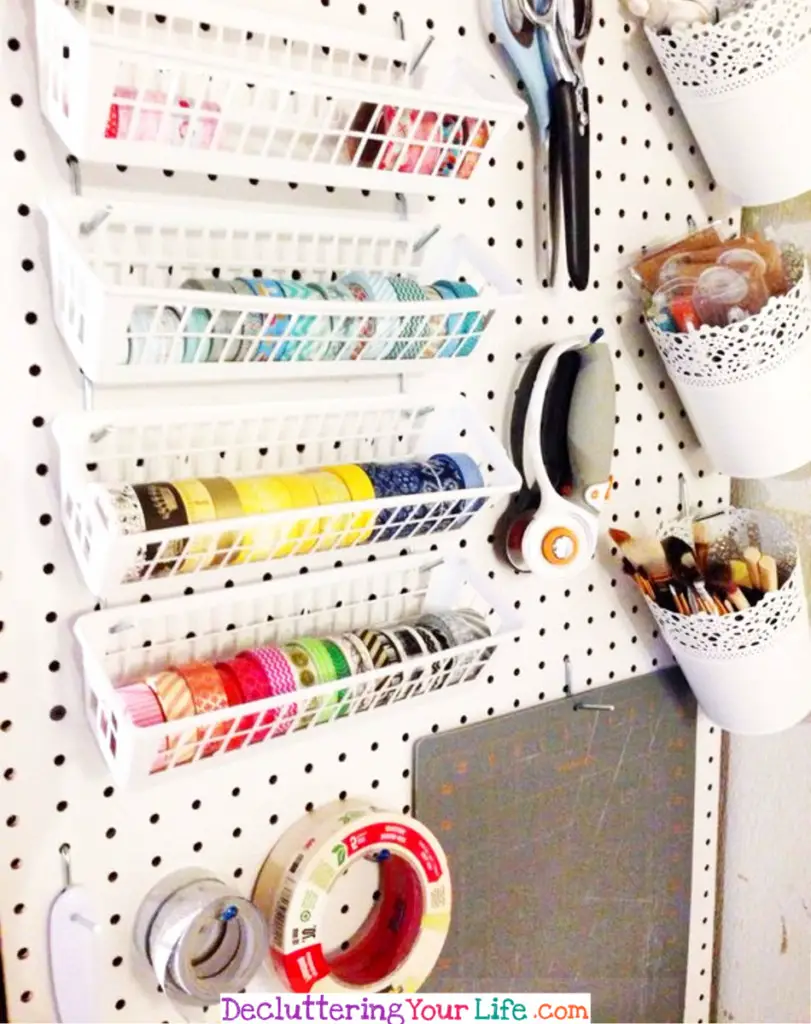
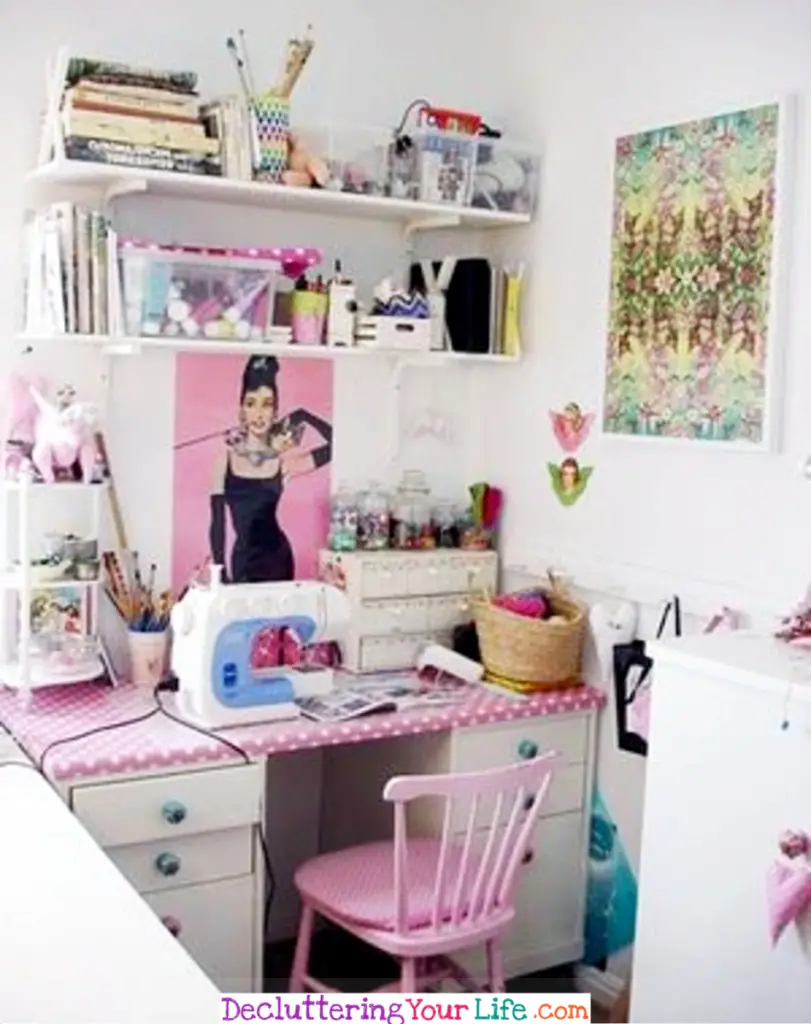
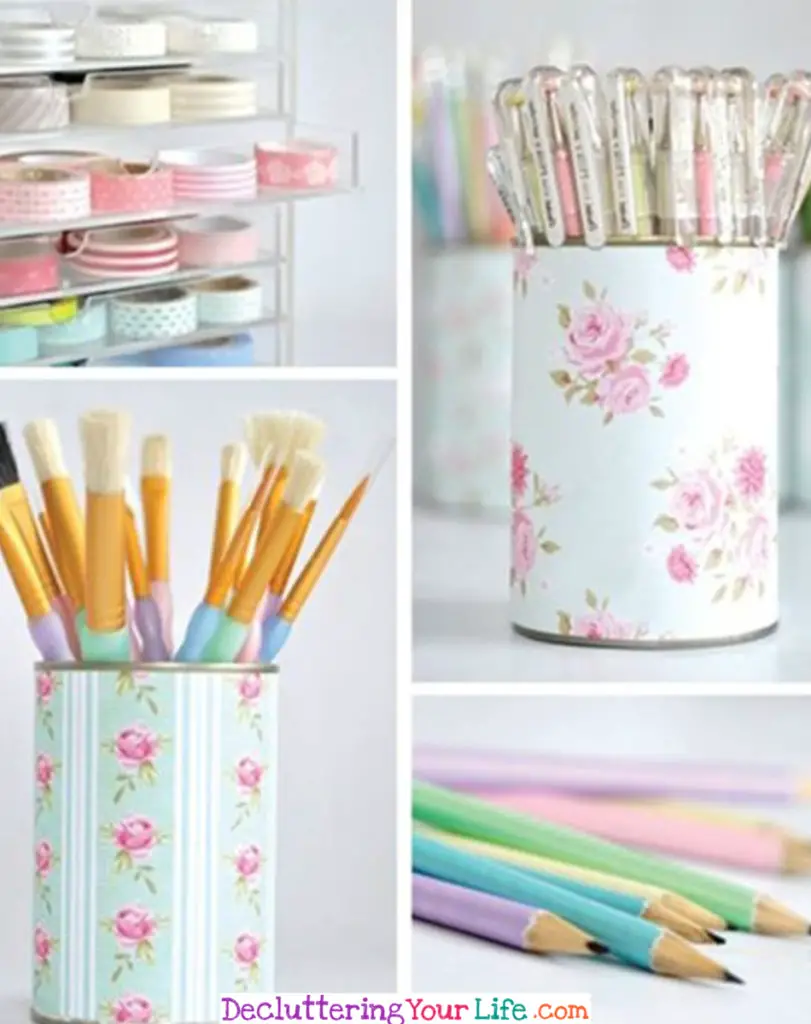
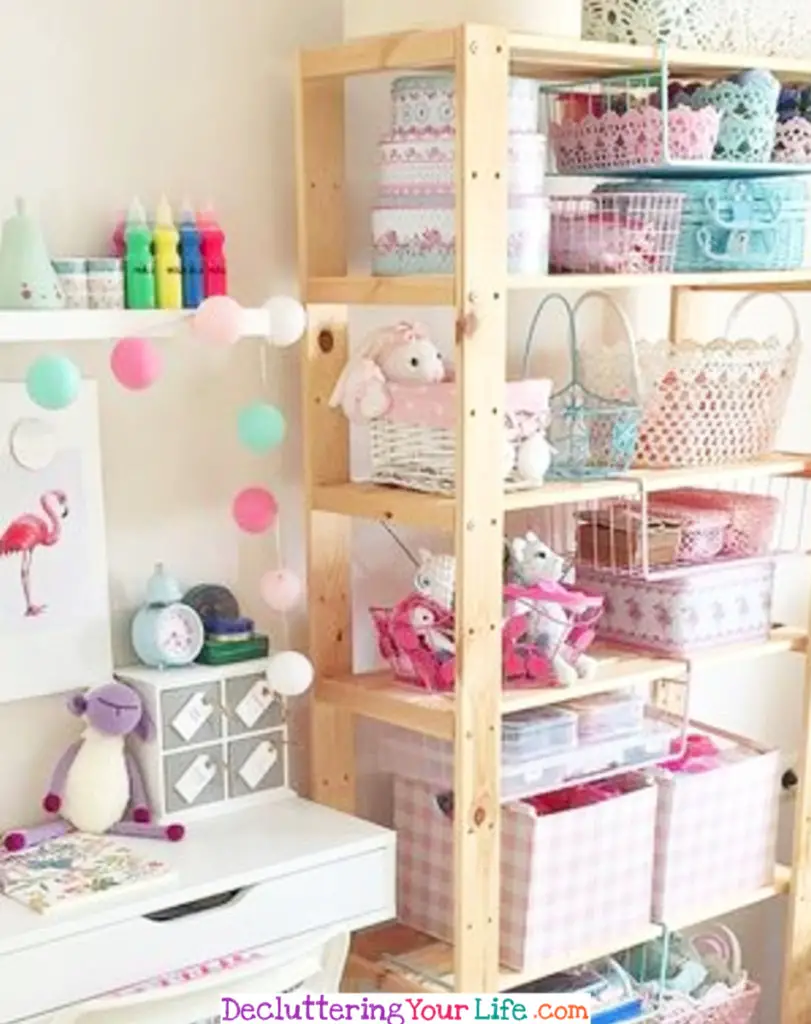
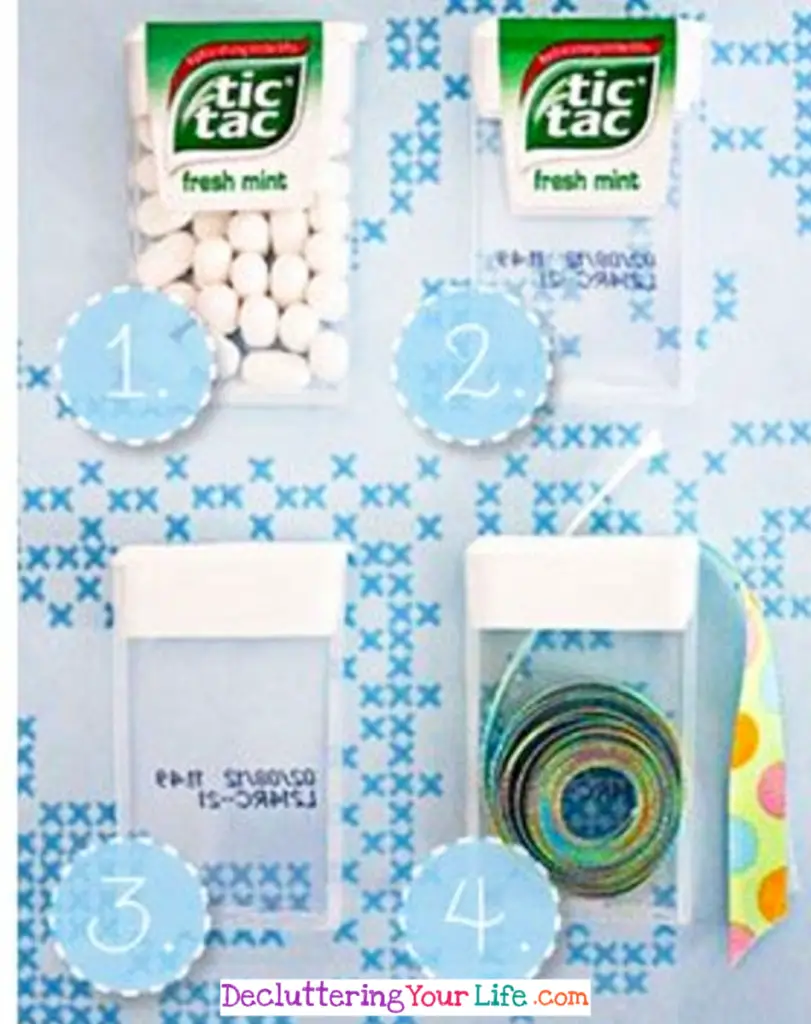
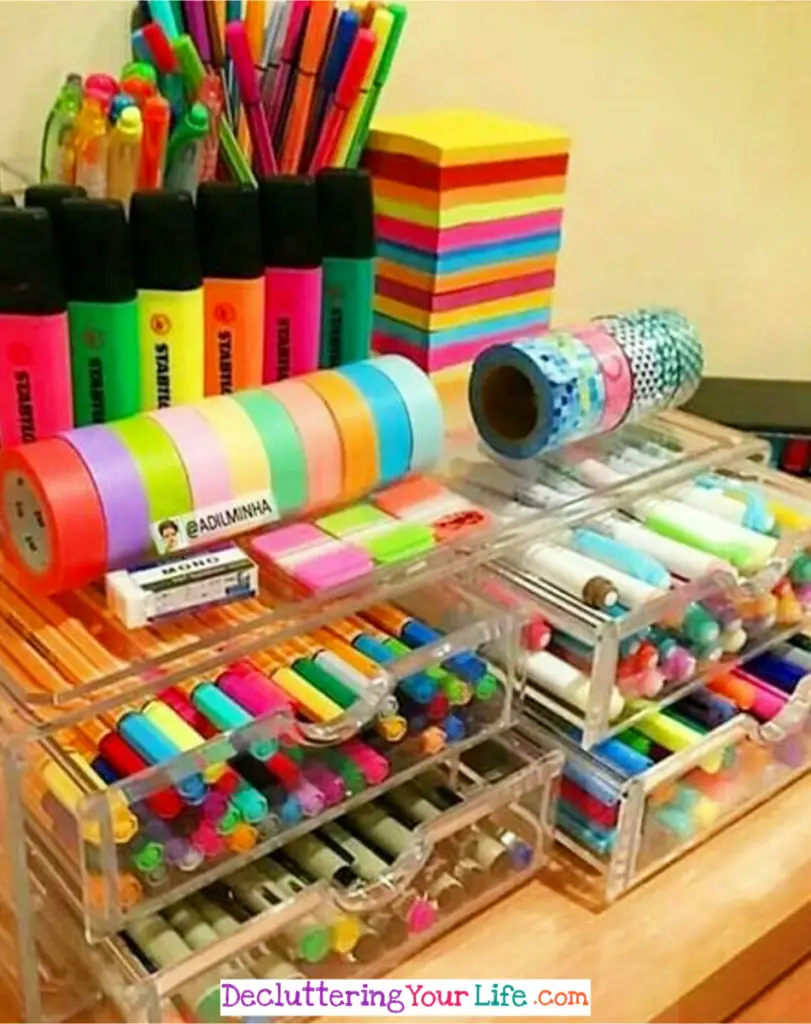
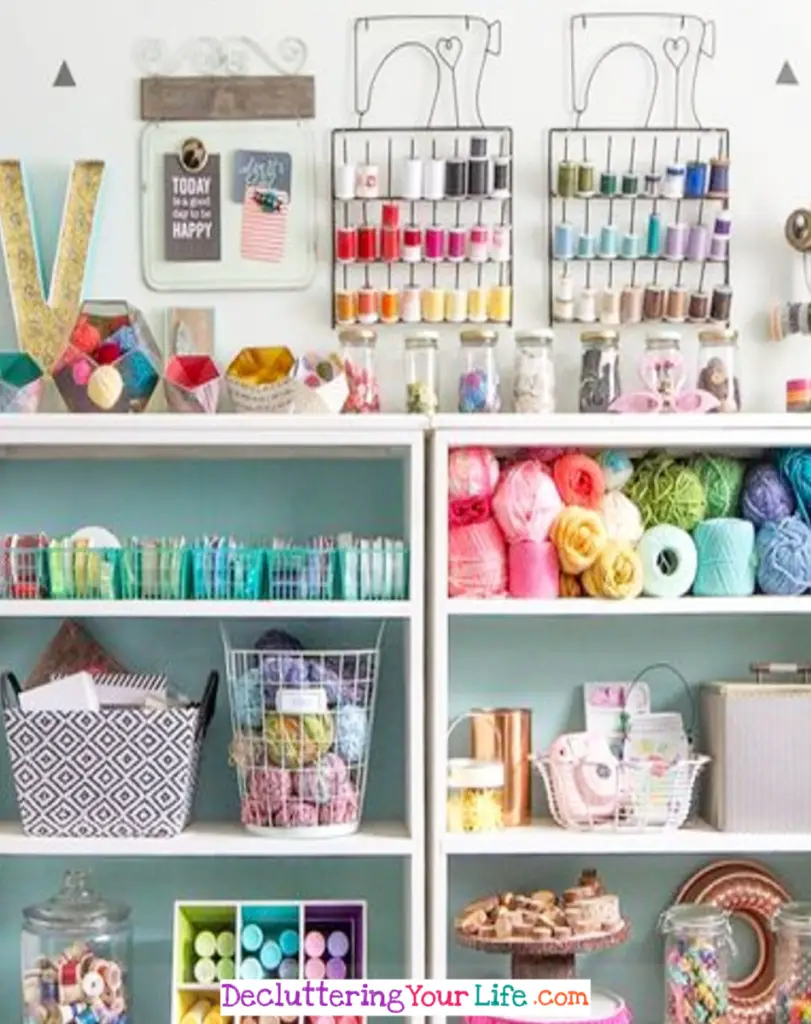
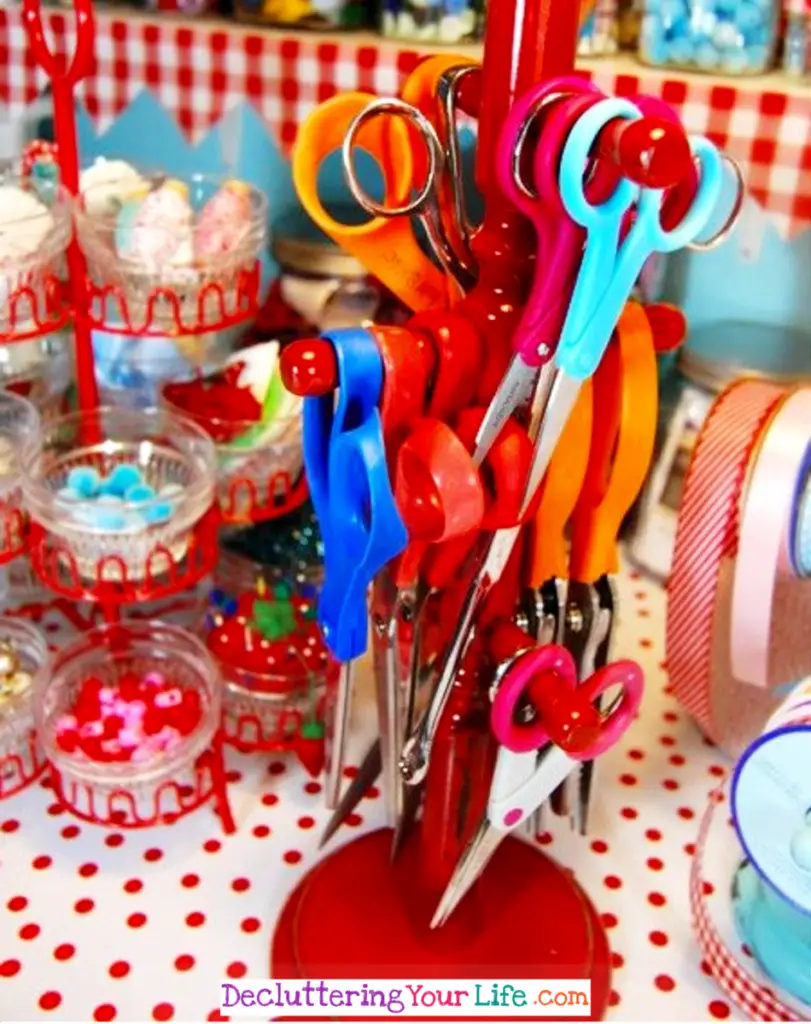
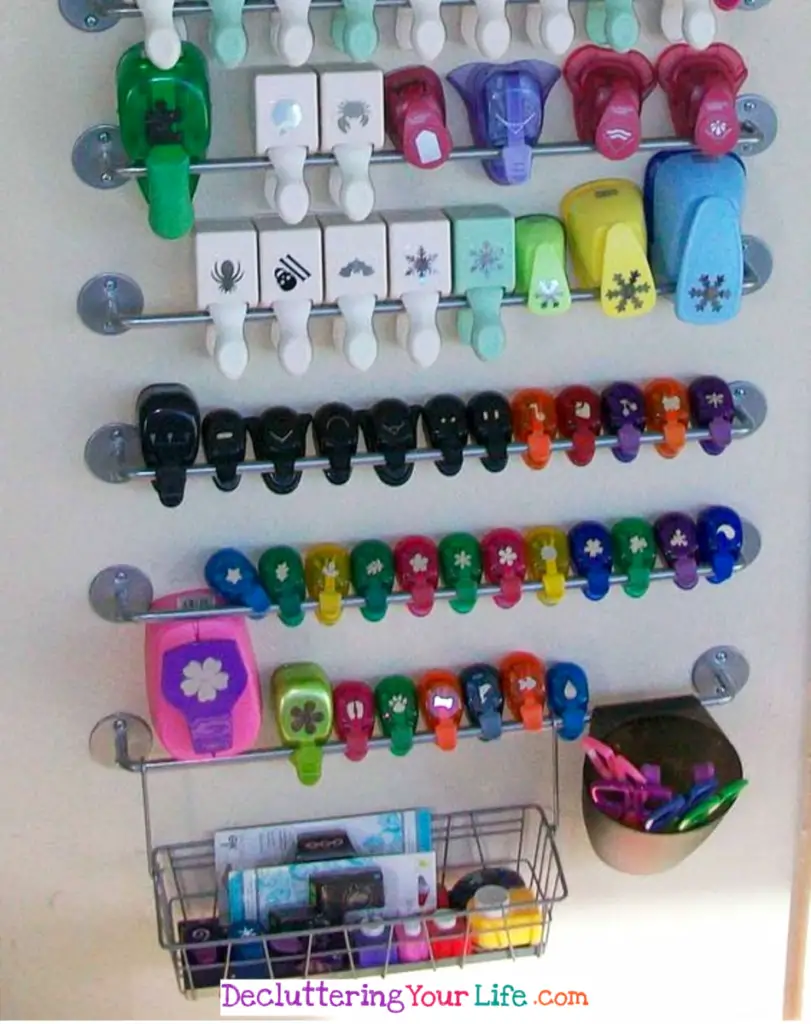
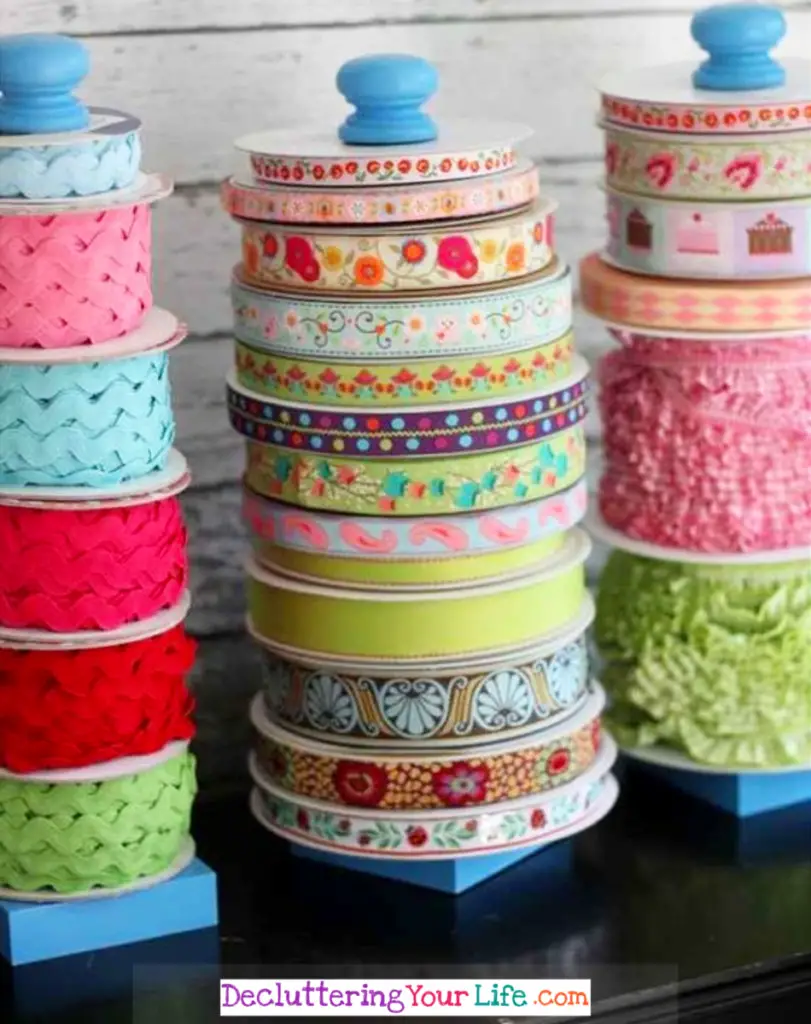
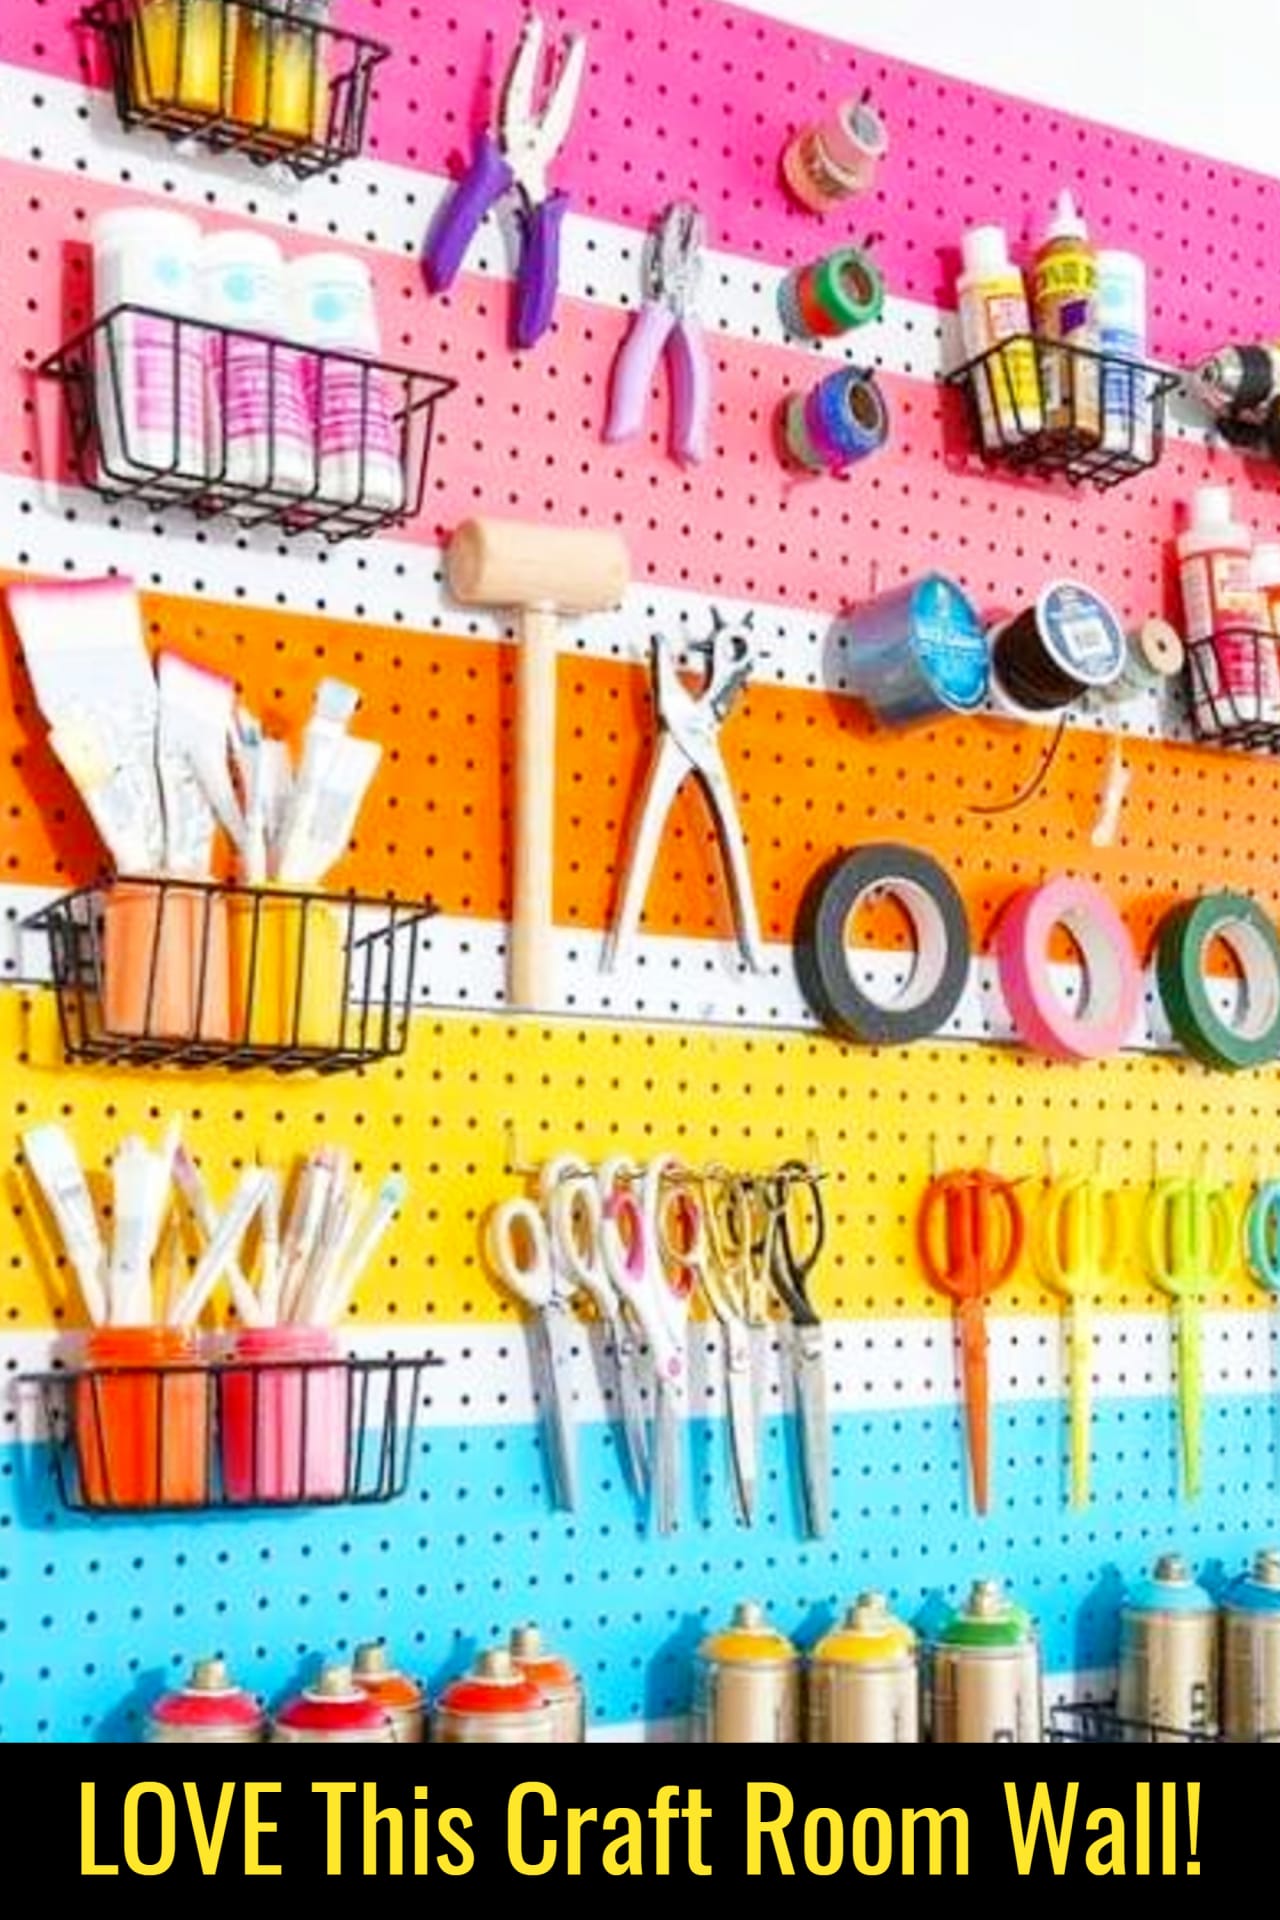
There are lots of great ideas to inspire you to get all that STUFF organized and beautiful – like this:
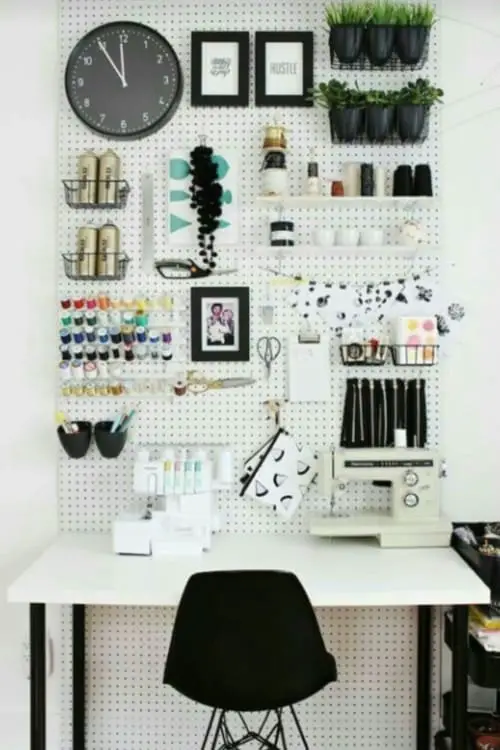
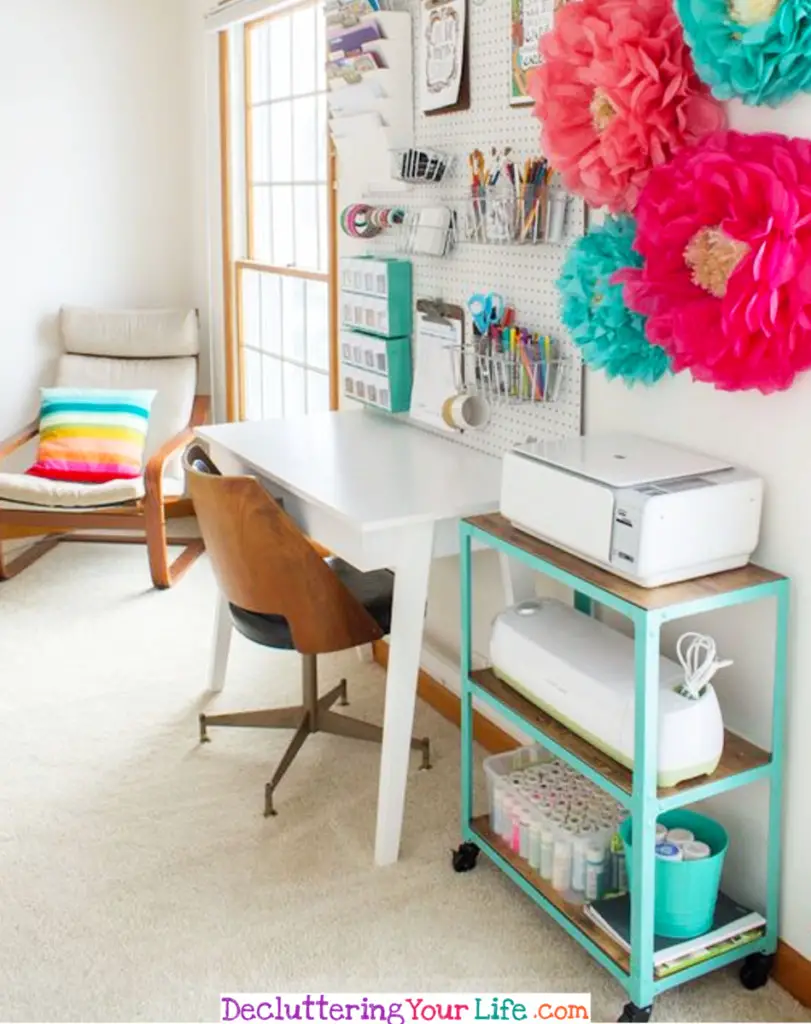
There are so many ways to organize a big OR small craft room (or even a craft room that is ALSO your home office) – let’s take a look at some really clever ideas for YOUR craft room.
Craft Room Organization Ideas
If you’re a knitter and have TONS of yarn EVERYWHERE, this is an idea for organizing your yarn AND hiding that clutter if your craft room isn’t ONLY a craft room.
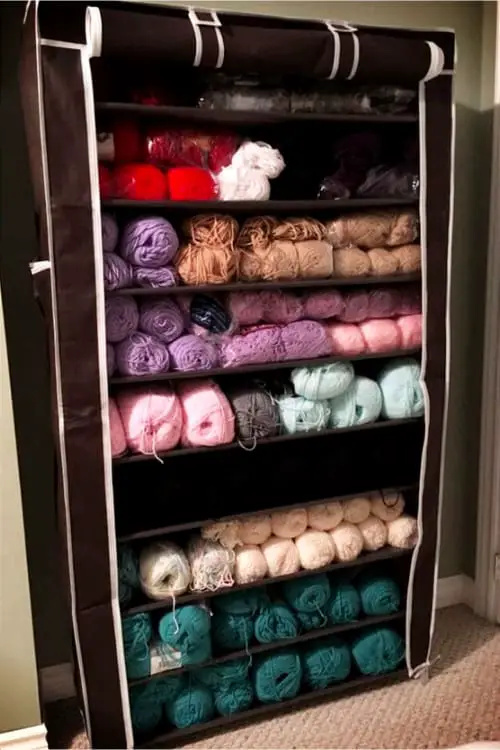
Isn’t that PERFECT for organizing your yarn and sewing stuff and fabric and craft supplies?
Bonus perk – it has a COVER so you can close it – which would be perfect for a guest room that is also your craft room!
They’re not expensive either – perfect for organizing craft clutter on a budget!
10 Shelf Yarn OrganizersGet More InfoDustproof Yarn OrganizersGet More InfoDouble Yarn OrganizersGet More Info
Another one of my favorite organization items in my craft room is such a simple thing – but it really helps me keep everything in its place where I can find it.
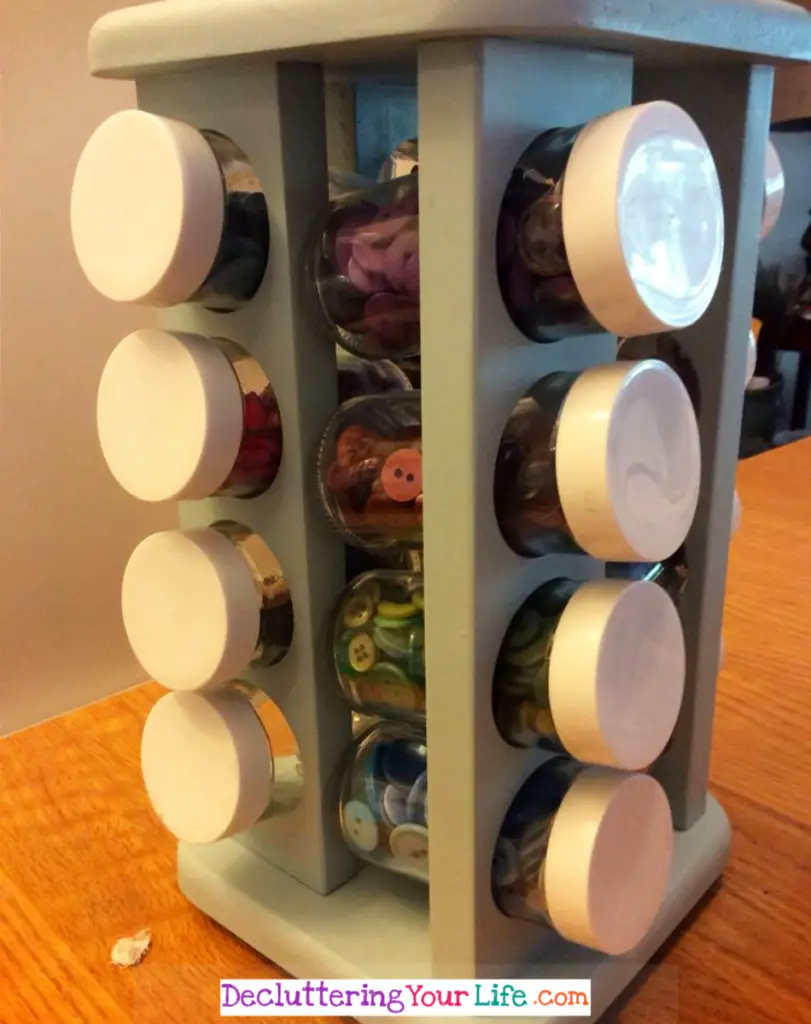
I love my revolving craft supply organizer.
This is what it looks like:
It is SO useful and has lots of cubbies and hooks and stuff to keep all my various little craft needs organized neatly.
I found my revolving craft organizer here.
There was a time I actually dreaded going into my craft room – it was SUCH a MESS – but ever since I took the time to declutter and organize my craft area and all my craft supplies, I simply LOVE being in that room!
Turned out, all I need was some inspiration to get in there and clean things up to turn it into a beautiful and inspiring space to create my goodies.
Know WHAT inspired me?
This idea for decorating the windows in my craft room:
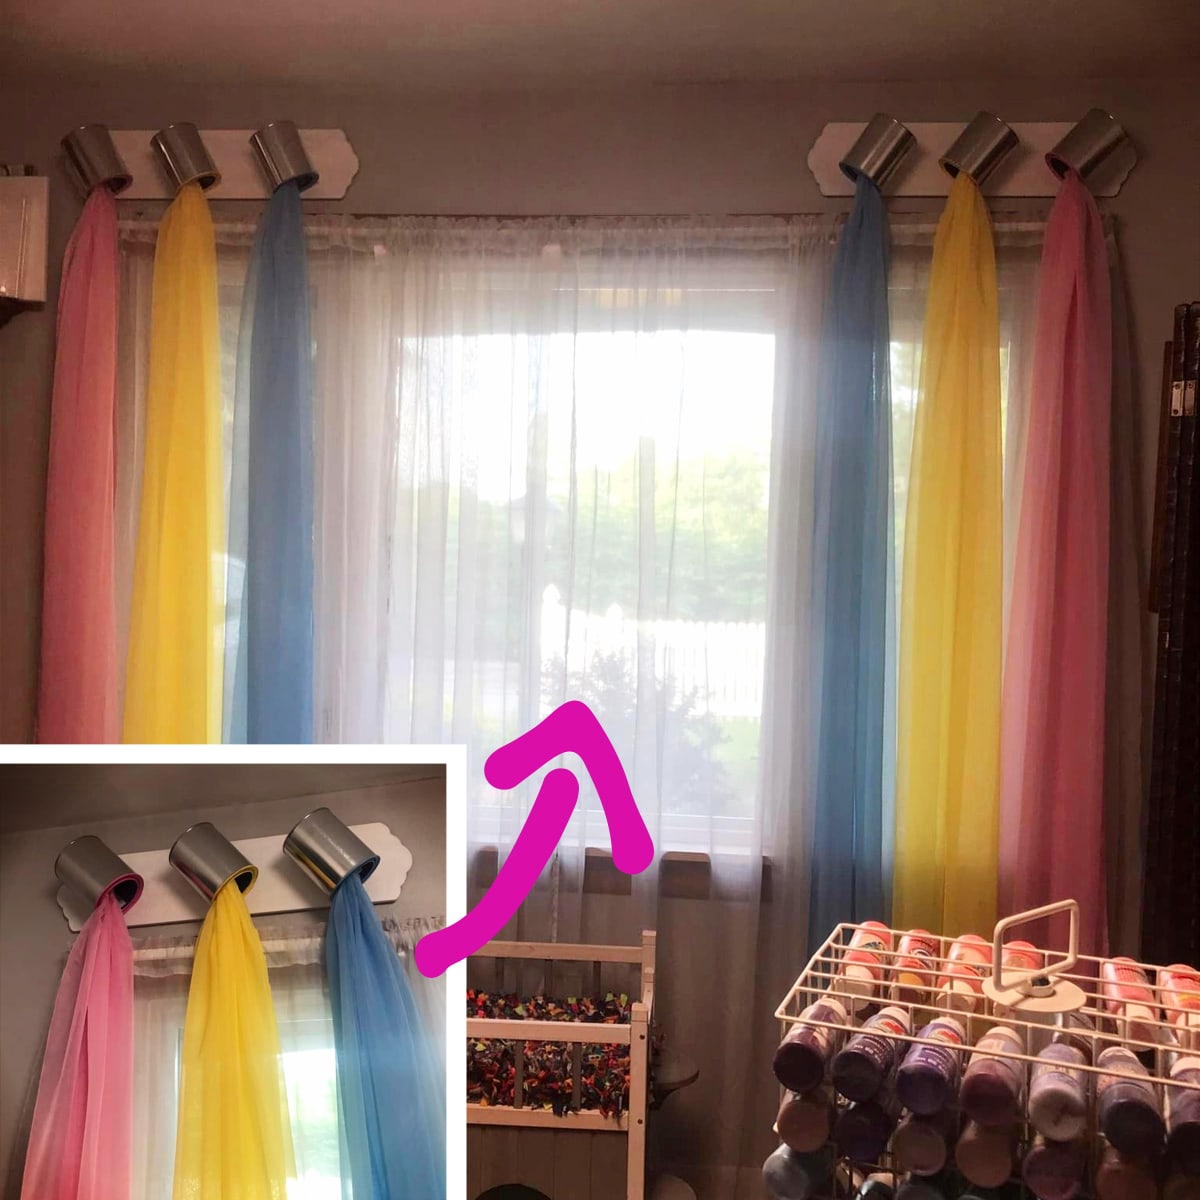
Is that not the cutest!??!
It’s amazing what you can do with some painted wood, a hot glue gun, empty paint cans and some brightly-colored material to really make a space fun.
But before I could decorate, I had to clear out the clutter and get it organized.
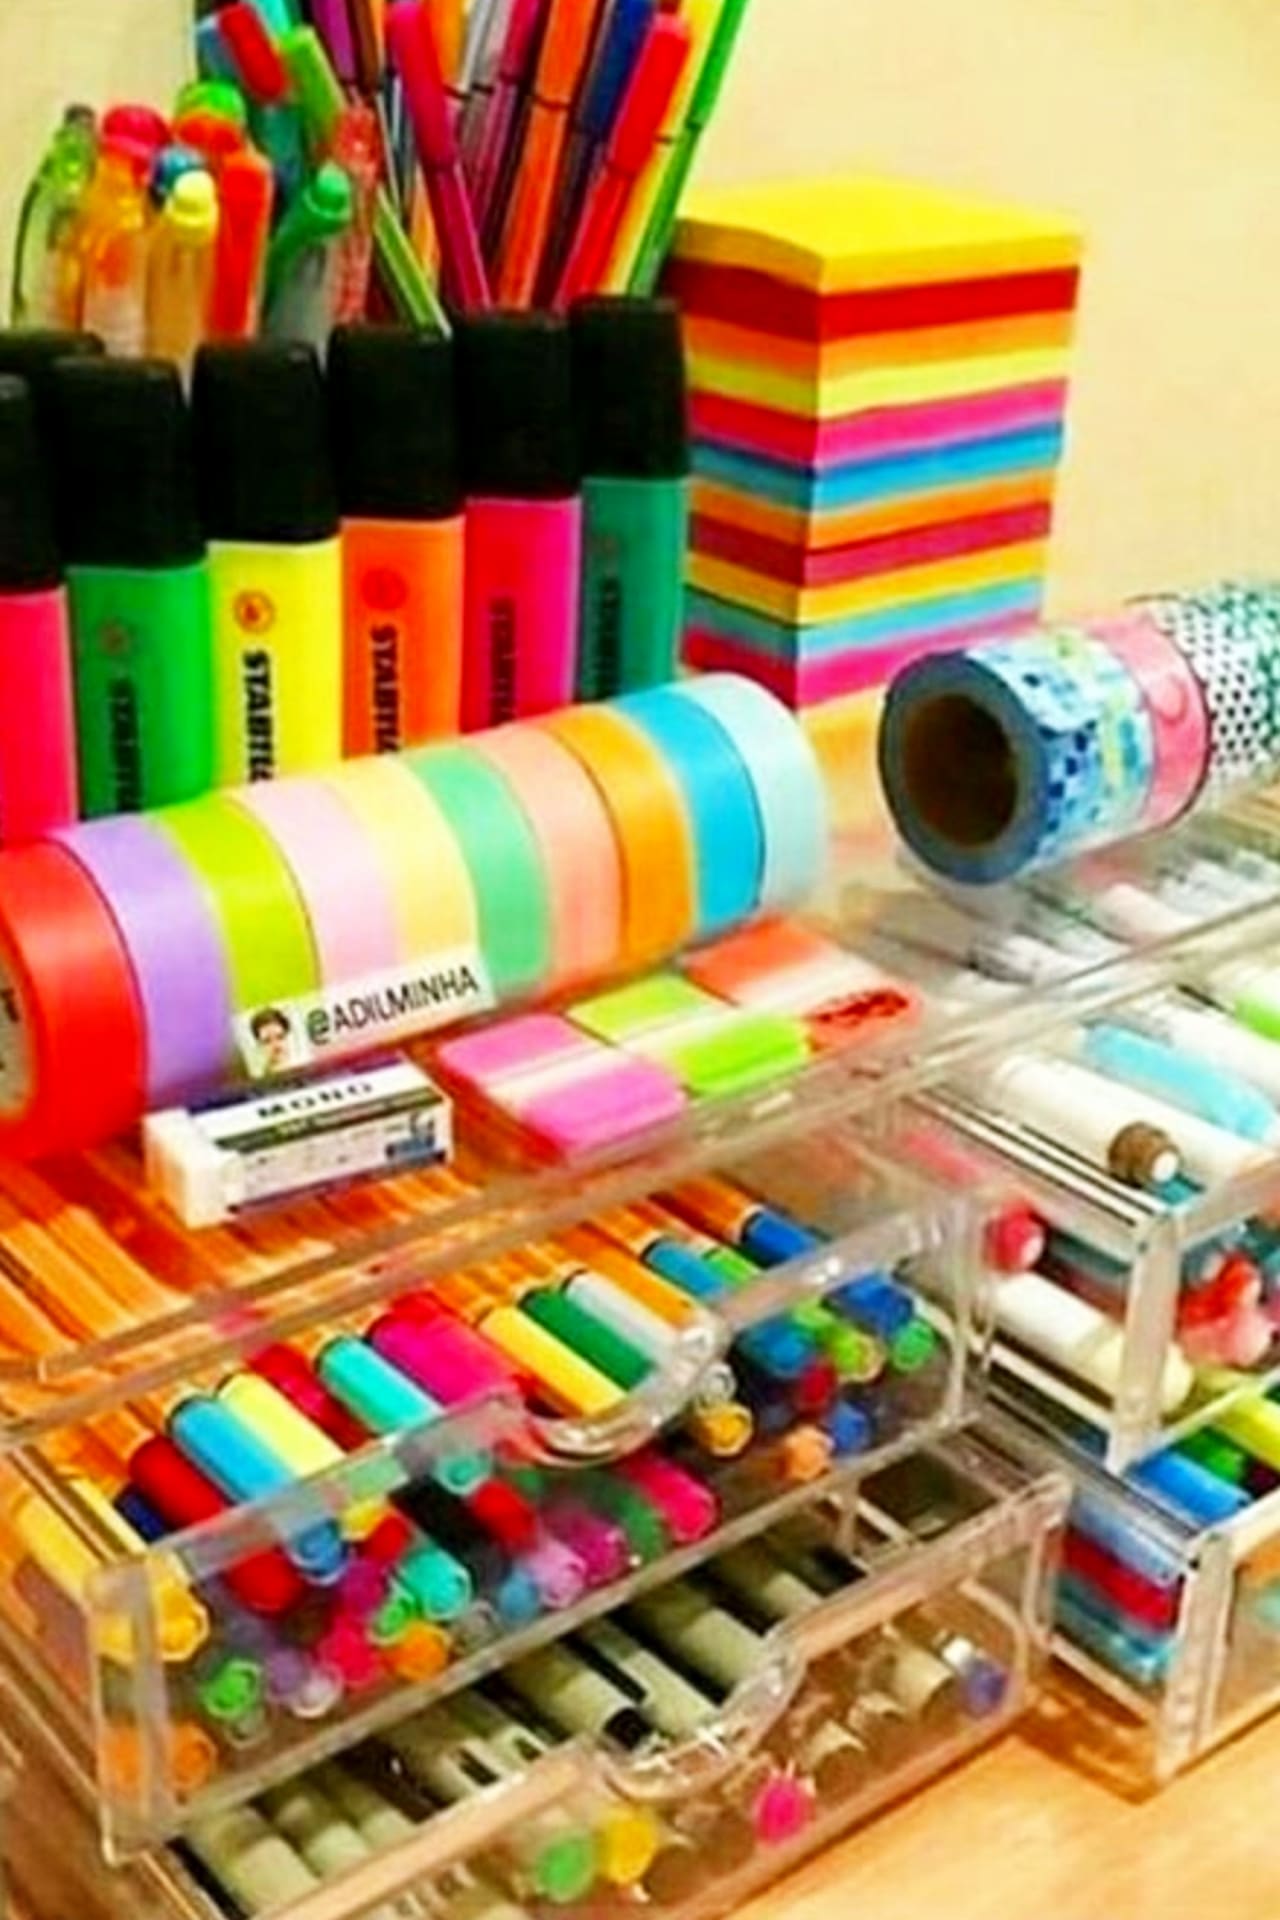
Craft Supplies Storage DrawersShow Me ThisCraft Supplies Storage KitsShow Me ThisDesktop Supply OrganizersShow Me ThisStackable Cube OrganizersShow Me This
Organization (or the lack of!) can be a big problem for creative people. Aside from our natural tendency to get excited about several projects at once, there is the fear that if we put things away they will end up forgotten.
This leads to a build up of clutter, with everything from craft supplies and tools to works-in-progress and finished projects taking up our workspace.
Finding these items a home, and keeping them there until they are needed, is the key to organizing your craft room.
Let’s look at some organization SOLUTIONS for your craft clutter and goodies…
Popular Today:
Small craft room or large craft room – endless budget or on a really tight budget – lots of craft supplies or just starting your craft space – you will find some creative organizing ideas for YOUR craft room (or craft closet) below.
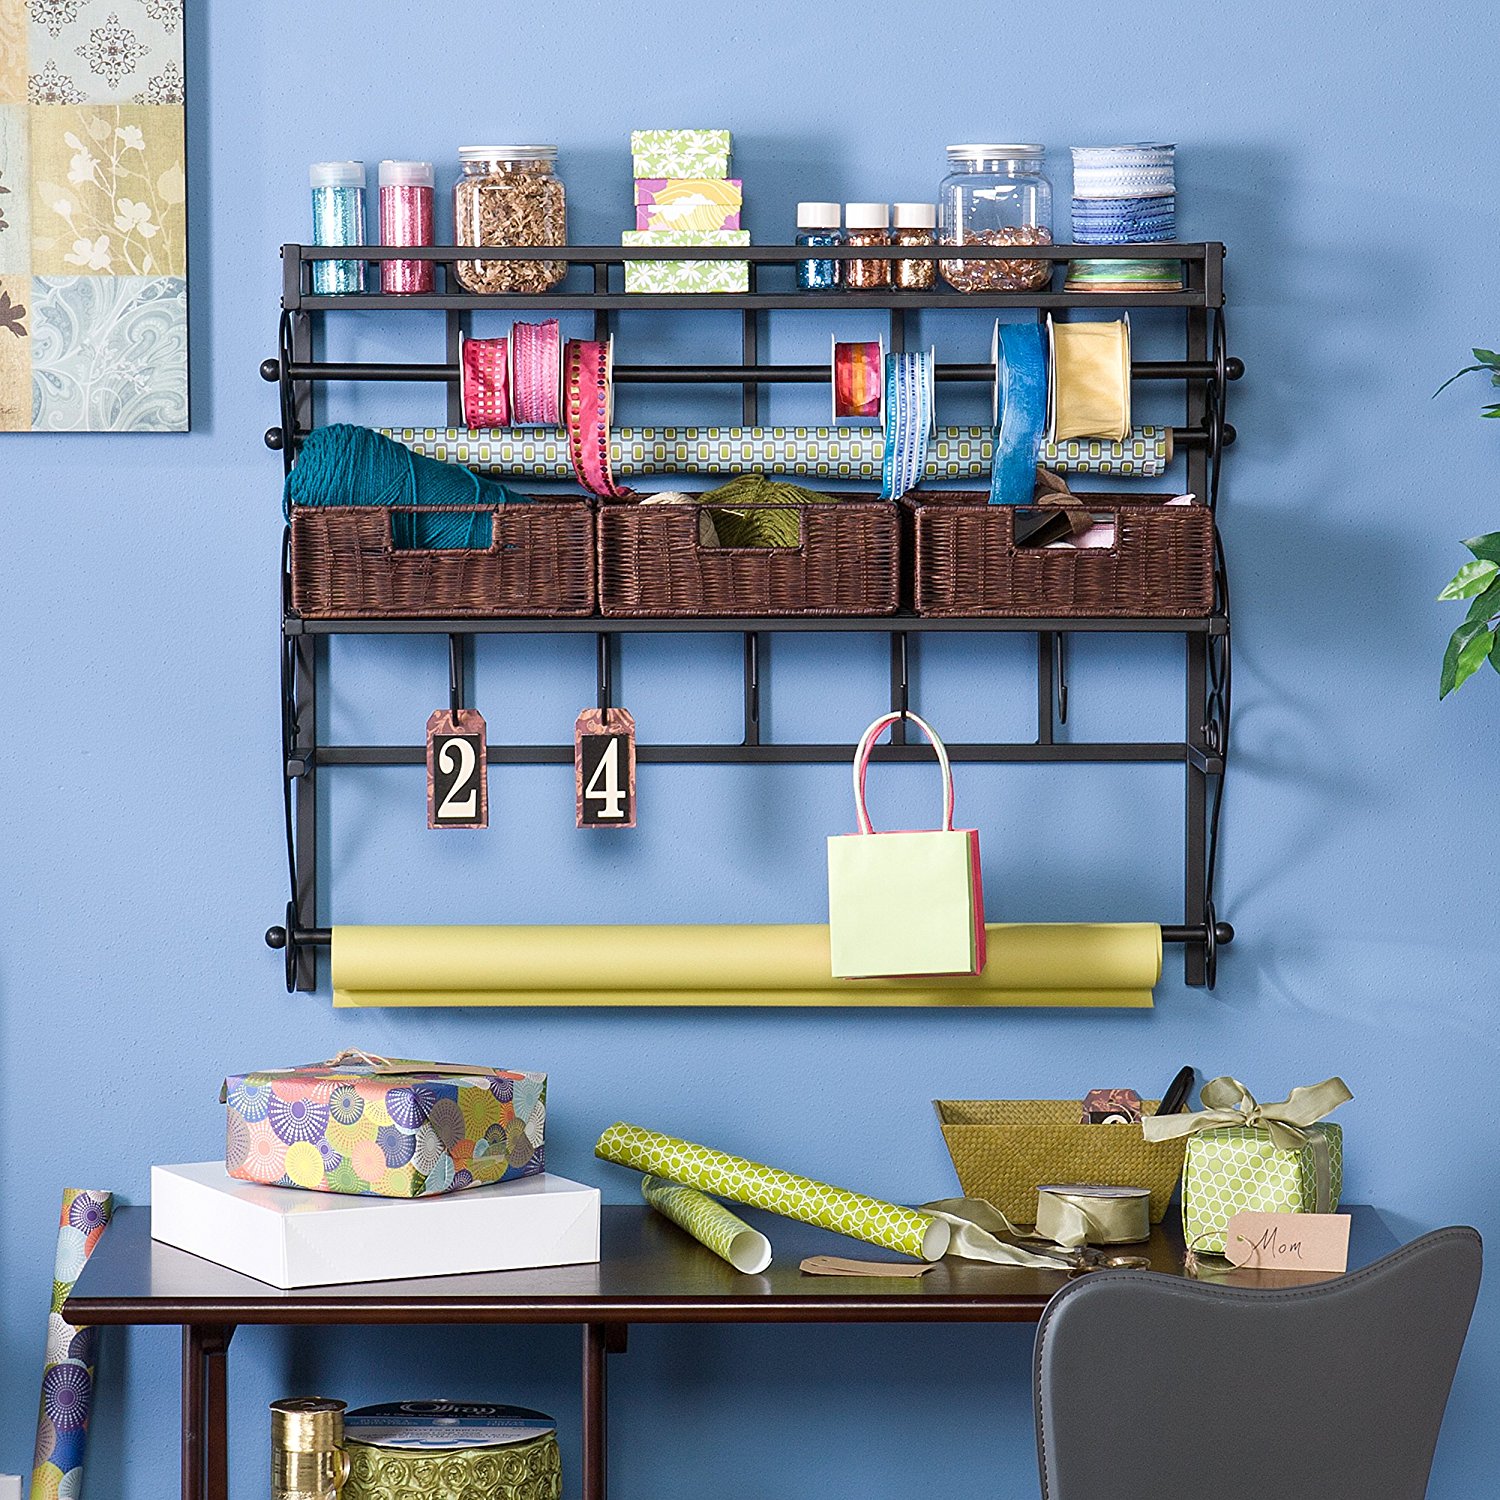
I found the shelf here
Small Craft Room Hack
If you live in a small home with no storage, there might not be an entire room available to create a craft room or sewing room.
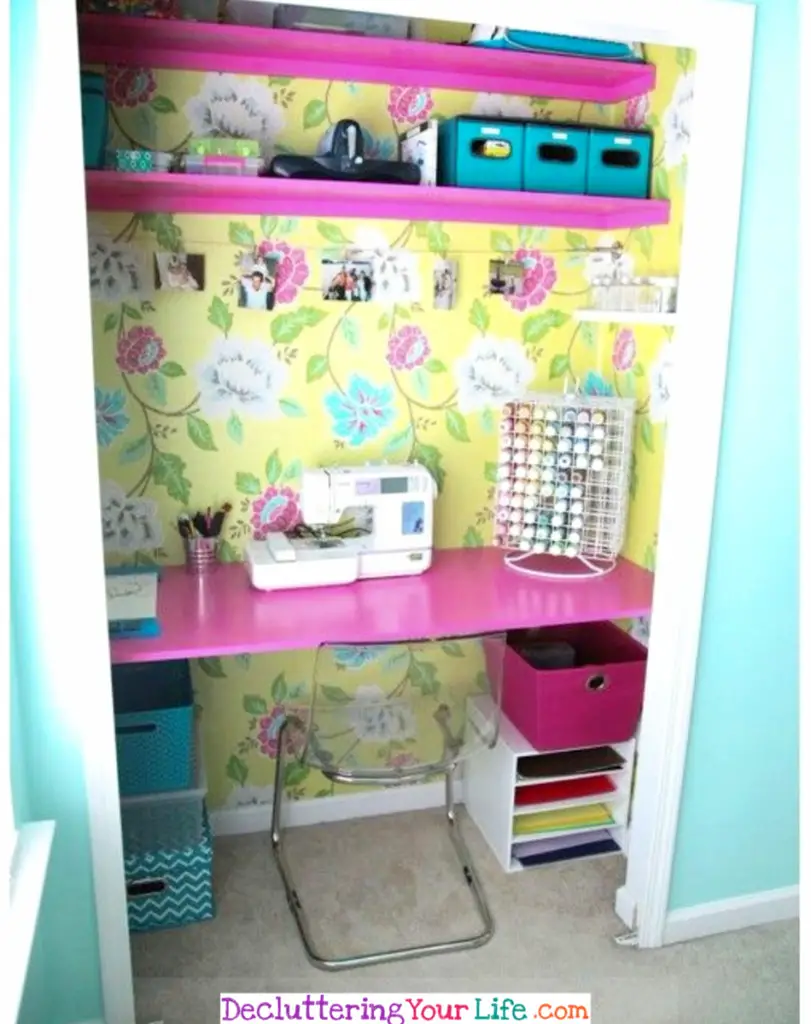
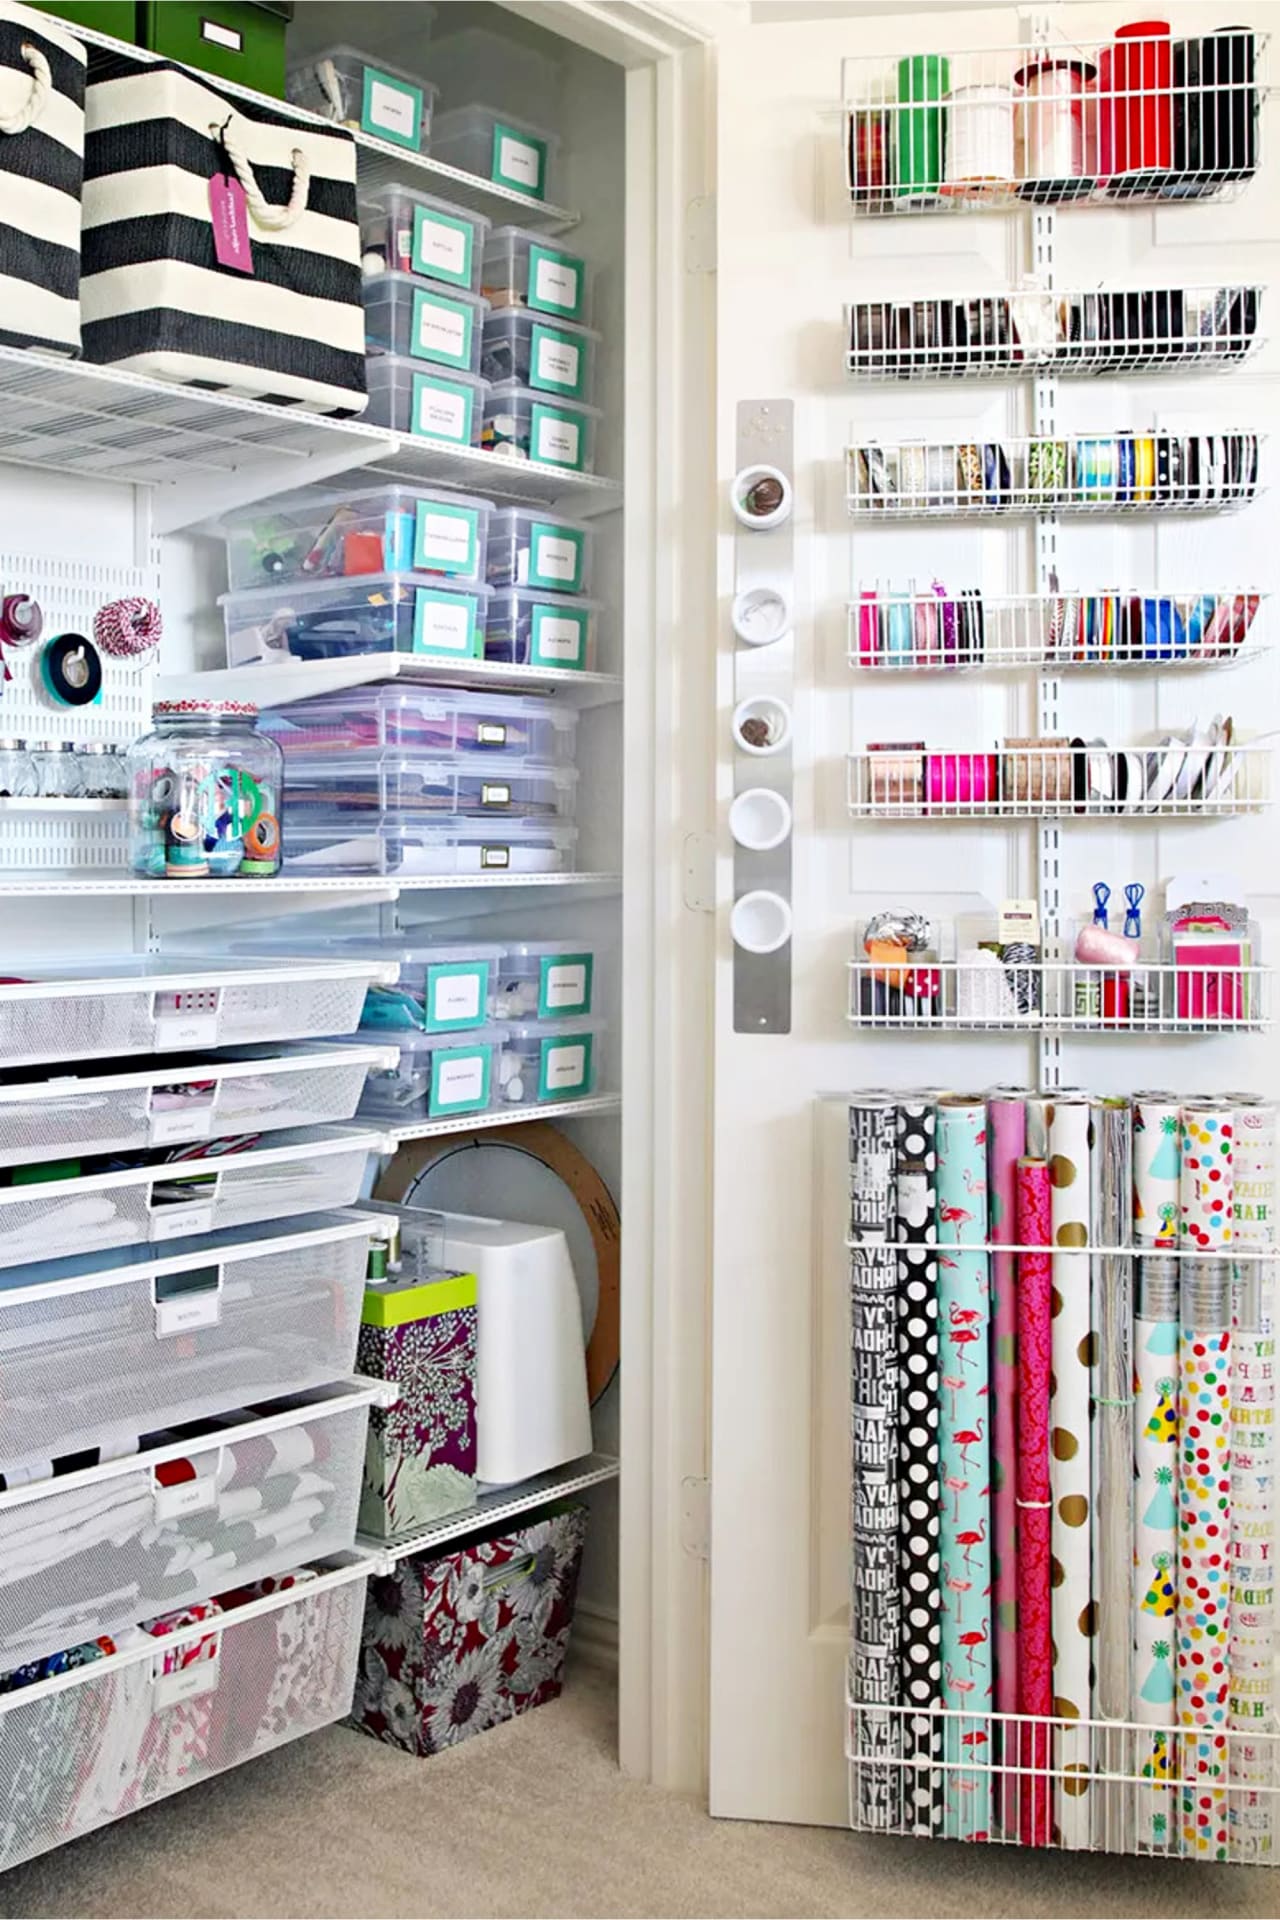
It could look like this:
Or your craft room closet could look like this:
Why Organize Your Craft Room?
Getting organized will save you time and money, and allow you to enjoy your workspace. Getting organized will save you time by allowing you to find your items easily, so you spend less time looking for supplies and lost items, and more time crafting. You will also spend less time moving piles of objects from one workspace to another so you can work.
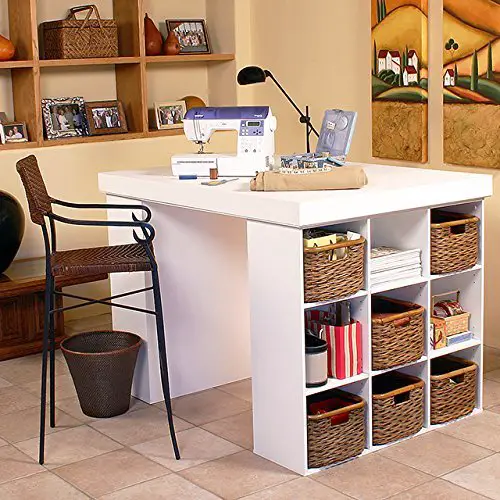
Getting organized will save you money, as you will not need to replace missing or “lost” items. It is terribly frustrating to know you have a supply or tool for a project, but are unable to locate it. When this happens, you purchase a replacement item, and the original object invariably shows up once your project is complete. Once you are organized, you will be able to quickly locate suitable items on hand, instead of buying new ones for projects.
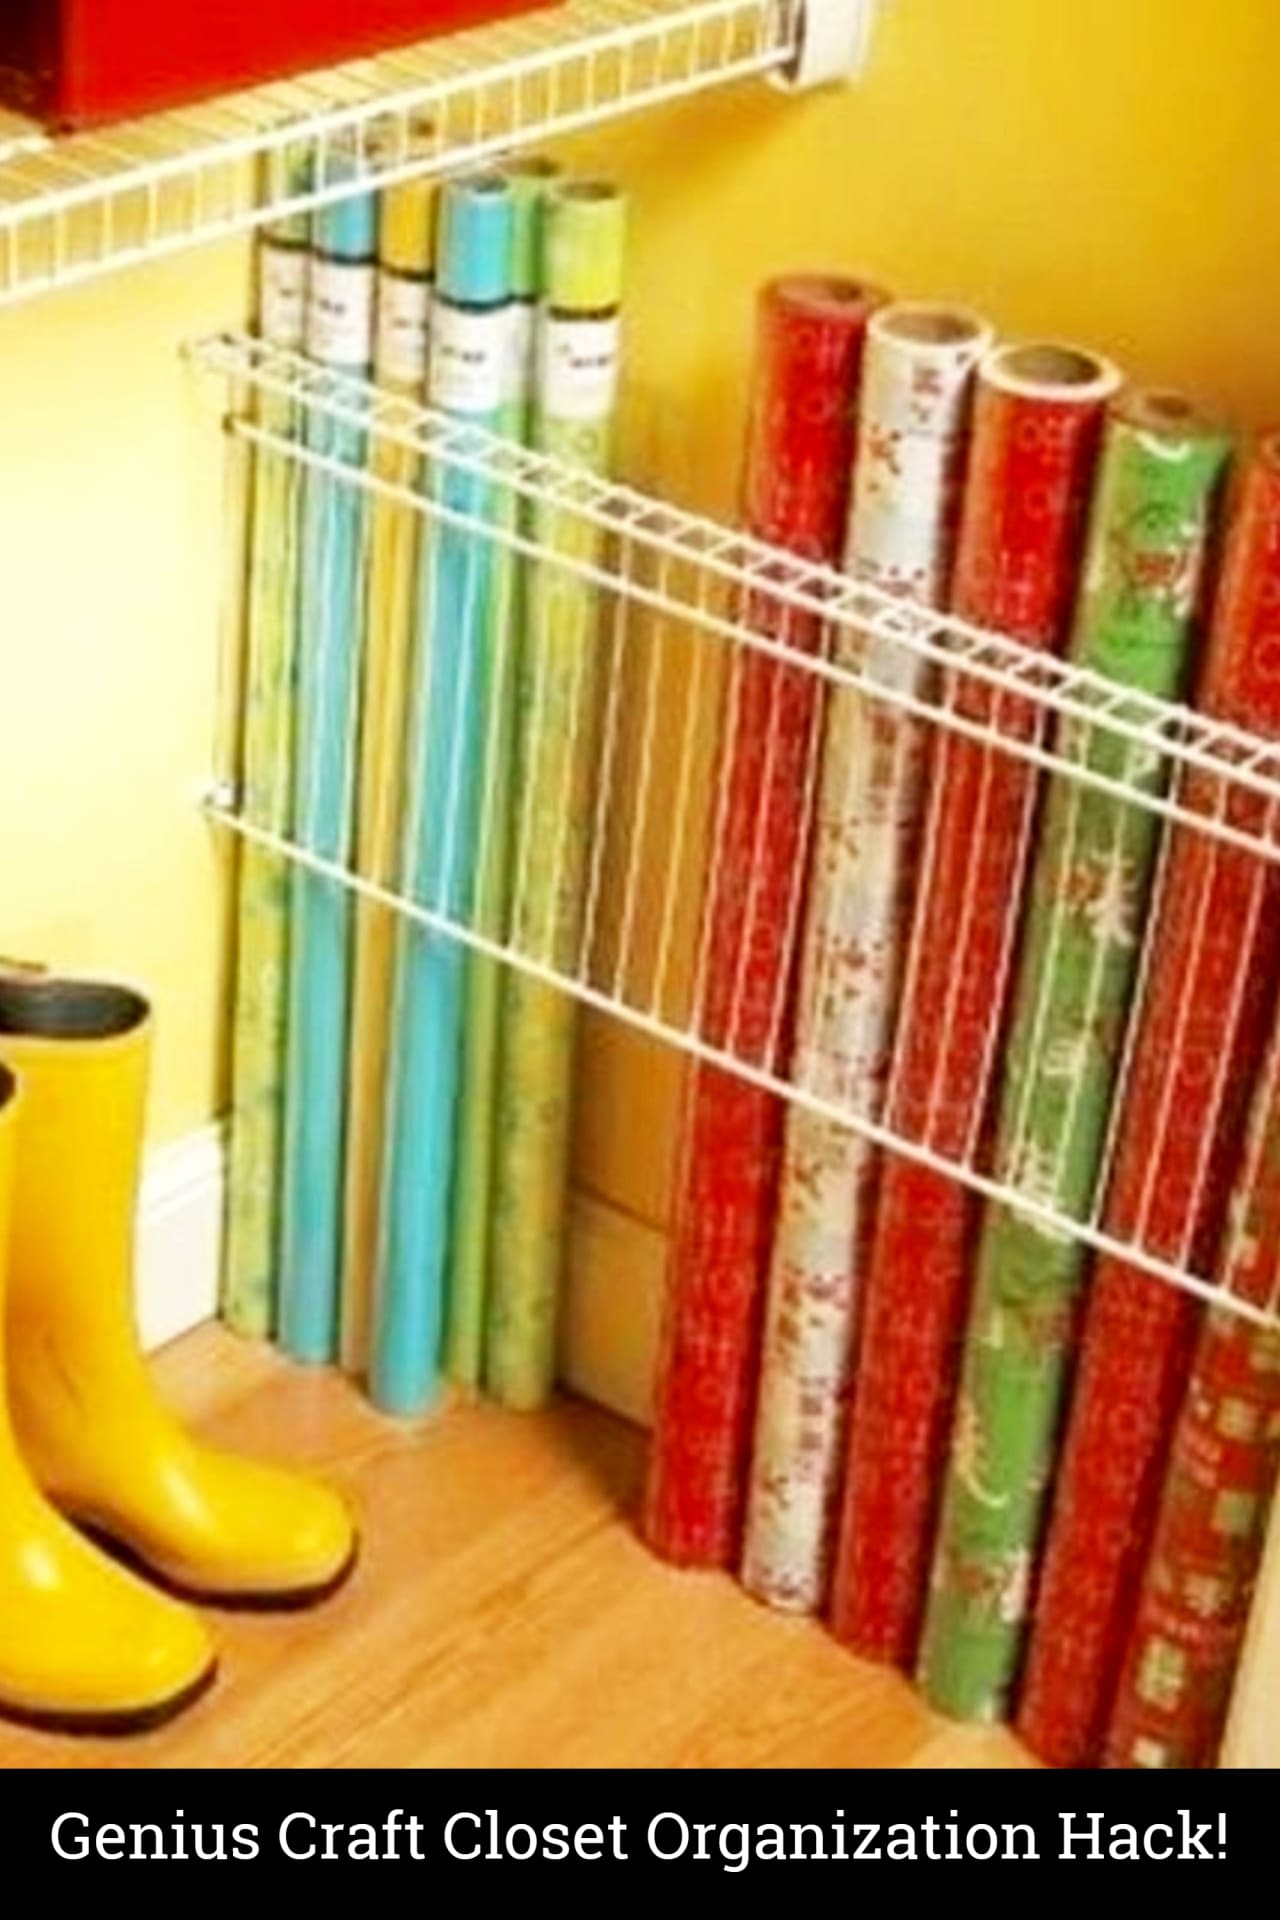
Craft Room Organizing Ideas
Below are 25+ of my favorite craft room organizing ideas that are easy DIY projects you can easily do in YOUR craft room.
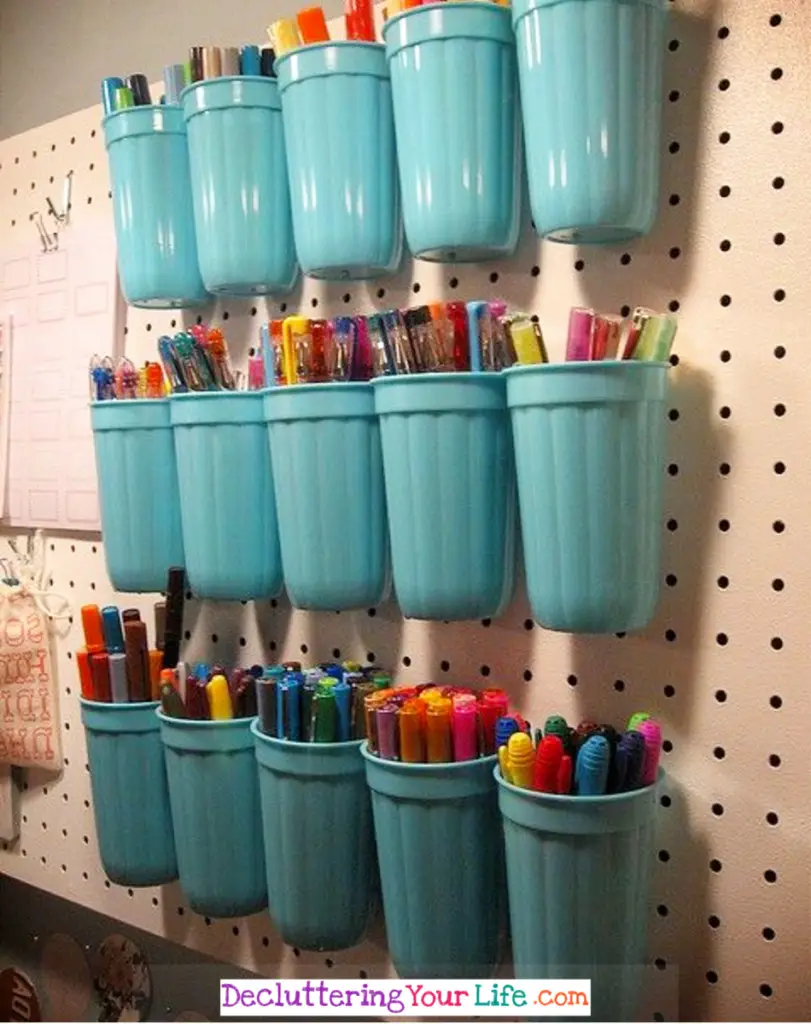
Some of these craft supply organization ideas use unexpected items that I think are SO clever and creative!
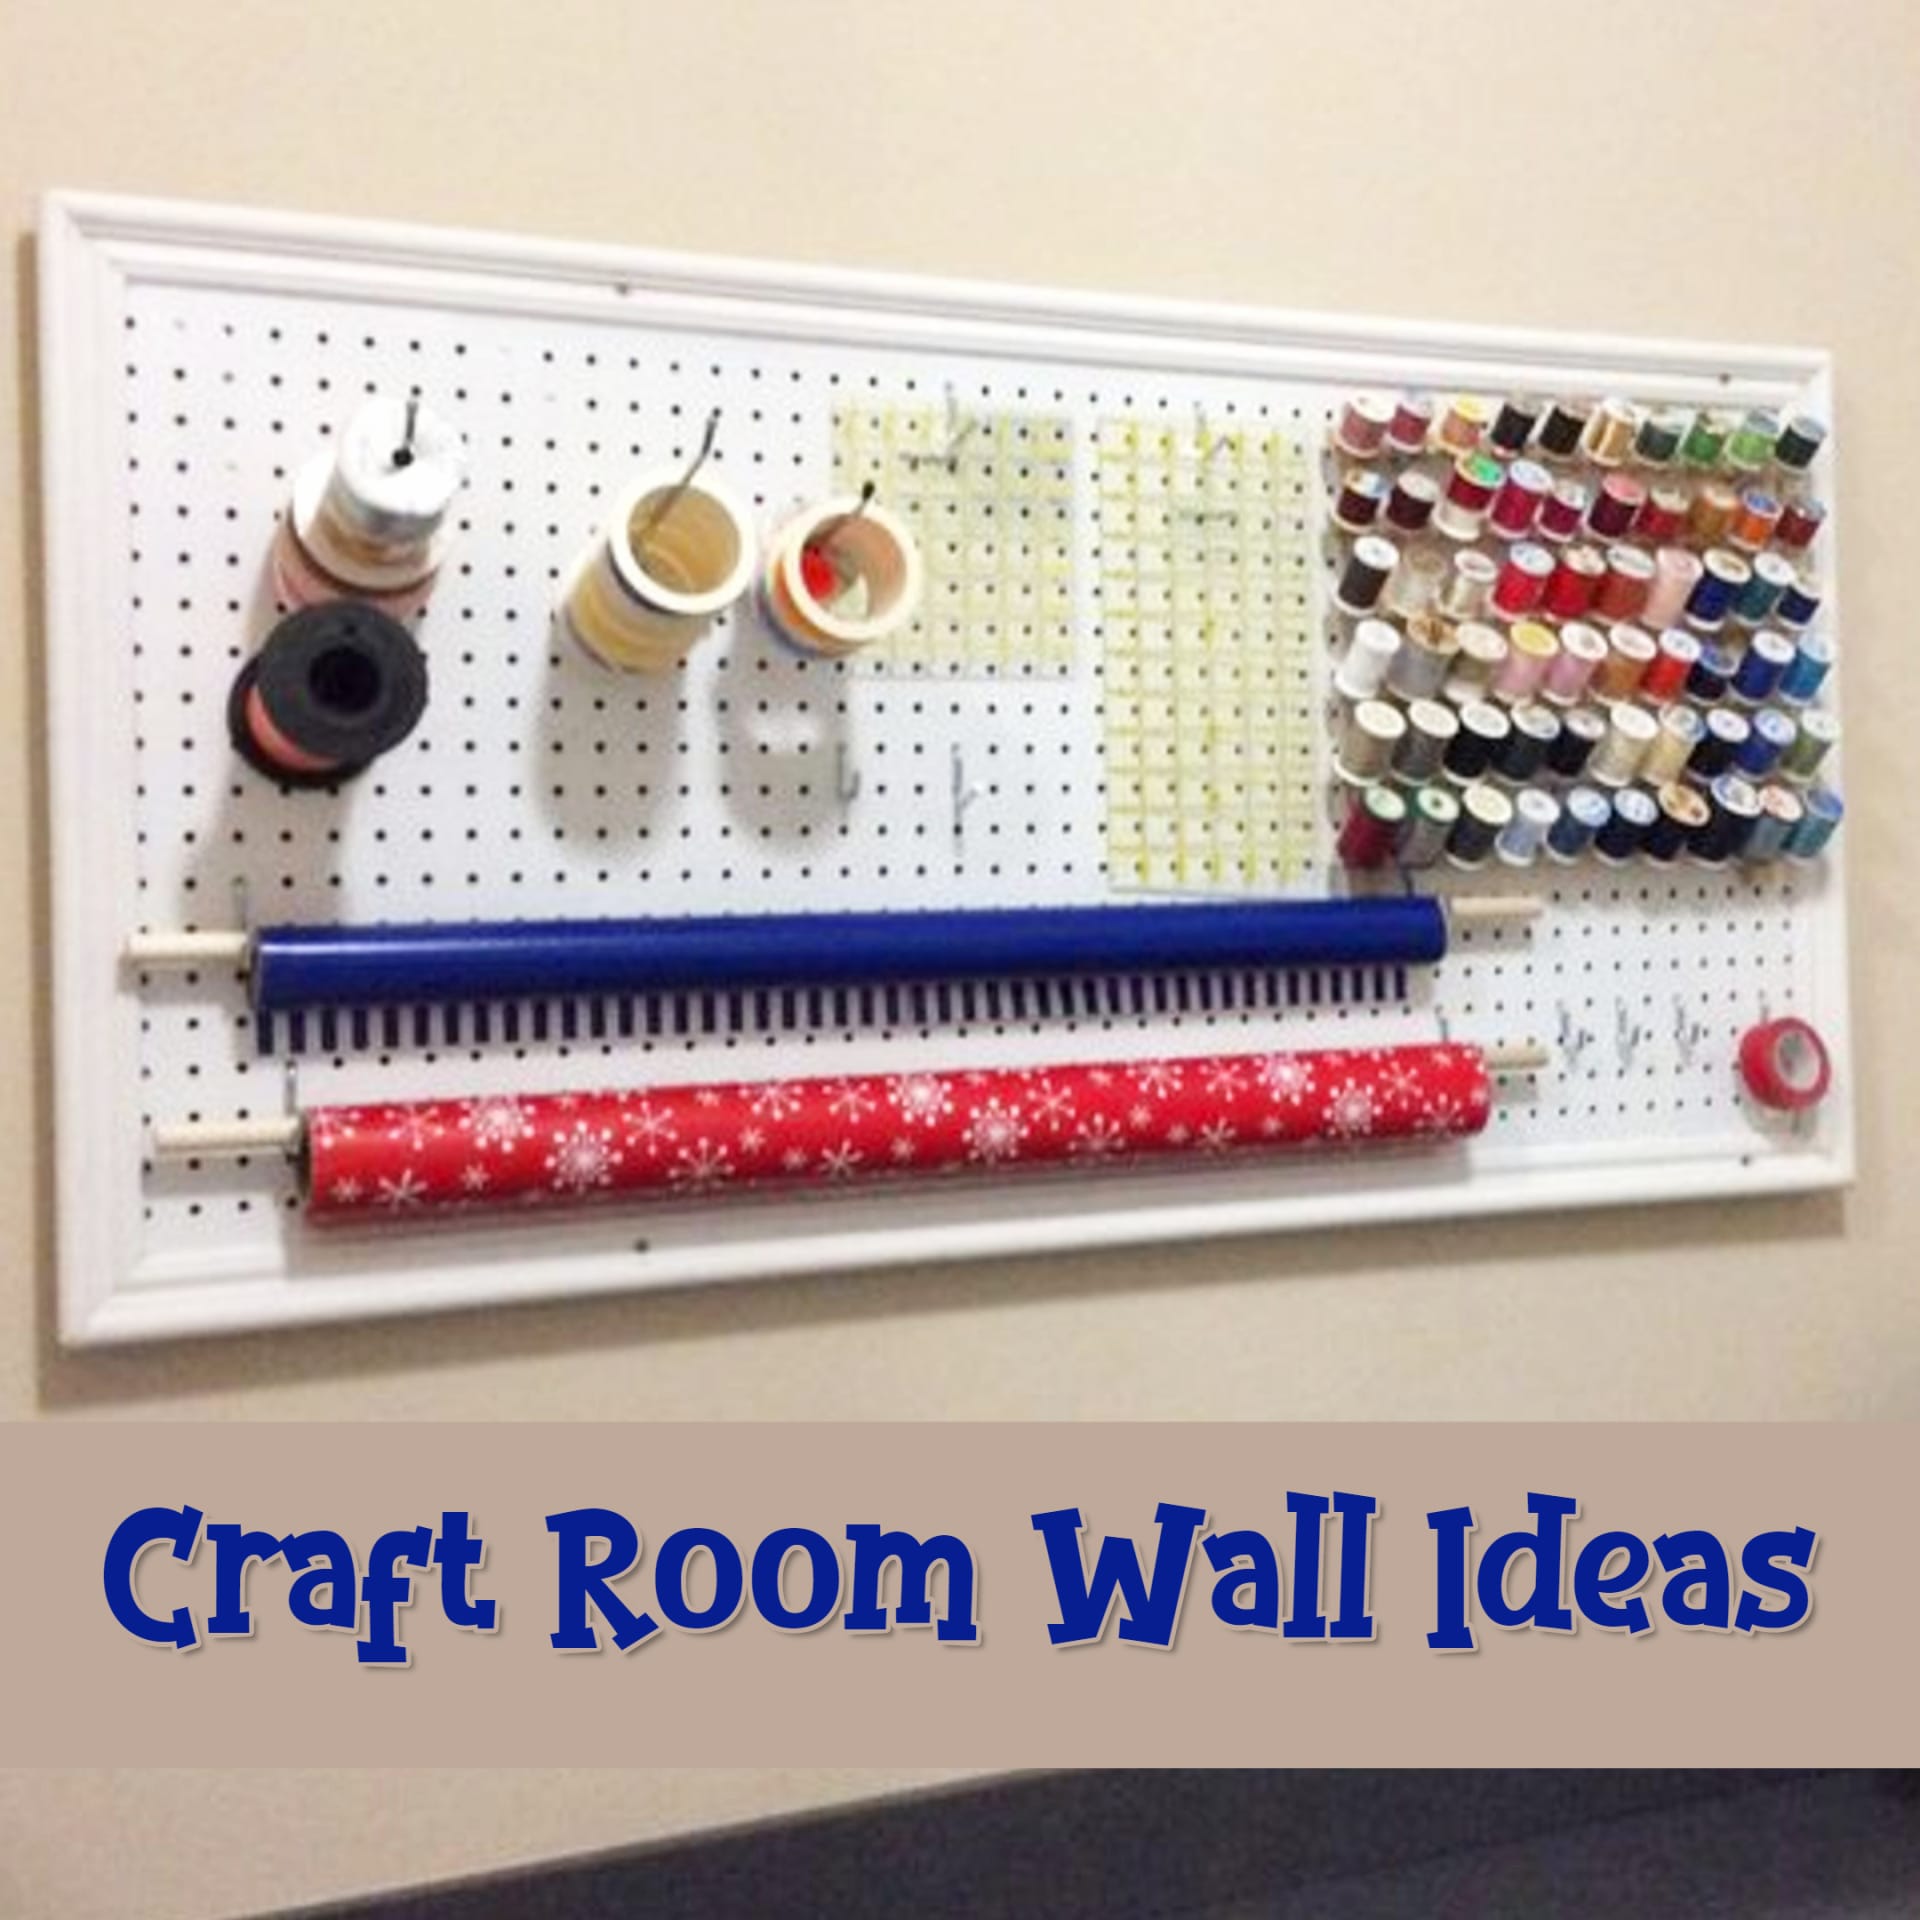
Fast Craft Room Organization
When you first look at your craft room it might seem like a HUGE task to organize it! With the simple steps below you can skip feeling overwhelmed and get YOUR craft room and craft supplies organized quickly and easily.
Start with your “why” or problem areas – such as…
Are you trying to organize your space for your Cricut business?
Or maybe you need space-saving solutions to maximize the space you DO have?
If so, here are some great tutorials from 2 other bloggers that have lovely crafting spaces:
Before You Begin:
Any craft space, whether it is a whole room, a part of a room, or a closet, needs places to store items and places to work. The more crafting areas you work in the more supplies you will have to store. In the simplest form, being organized requires you to have a home for all of your objects, and requires you to put them there! Before you begin, review the following basics:
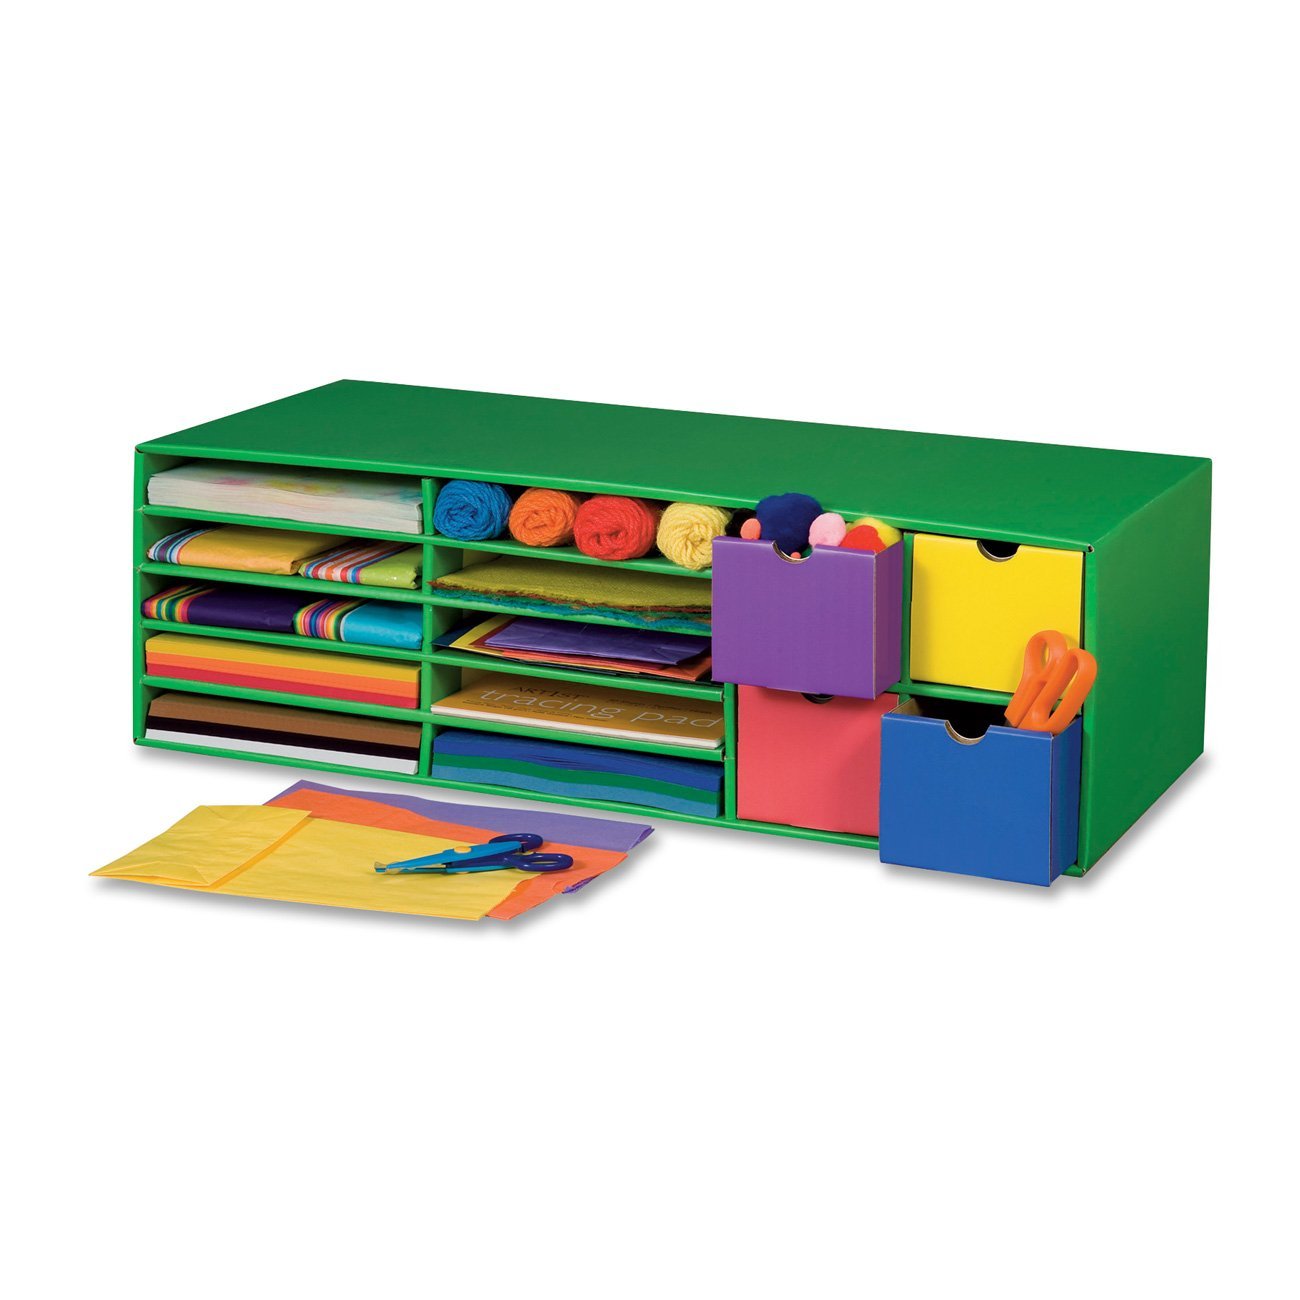
Storage: Find or purchase a variety of storage items. Be creative–you will enjoy the organizing process more if you have attractive storage pieces.
Recycle: Decide which school, church, or charitable organization will receive your unwanted items. Most schools and children’s groups are thrilled to receive your leftover paints, glues, and other supplies. Keep only the items you use, without feeling guilty for throwing things away.
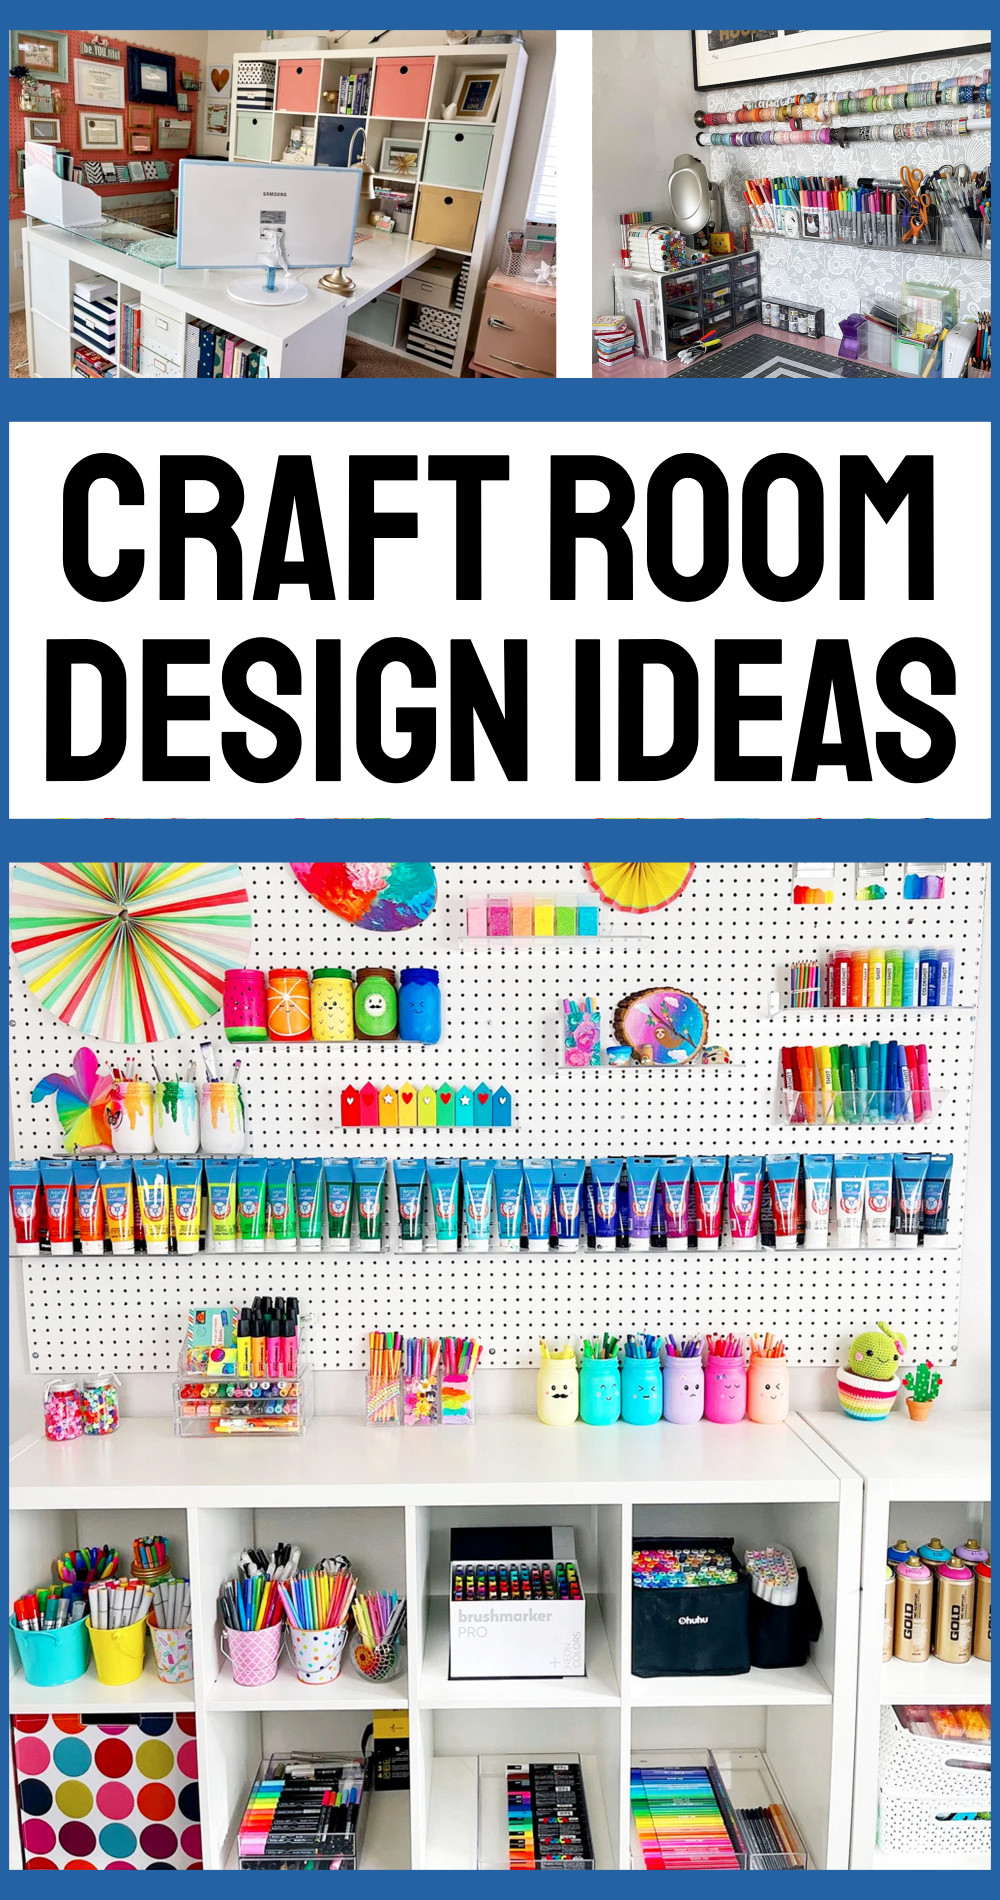
Unfinished Projects: As you work, you will come across works-in-progress, supplies you purchased for specific projects but never got around to working on, and other inspirational items. Do not get sidetracked and start working on your unfinished projects! Set aside a shelf for works in progress, and store them there. Make quick sketches of proposed projects and ideas, then put the supplies for them away–you will be able to find them later.
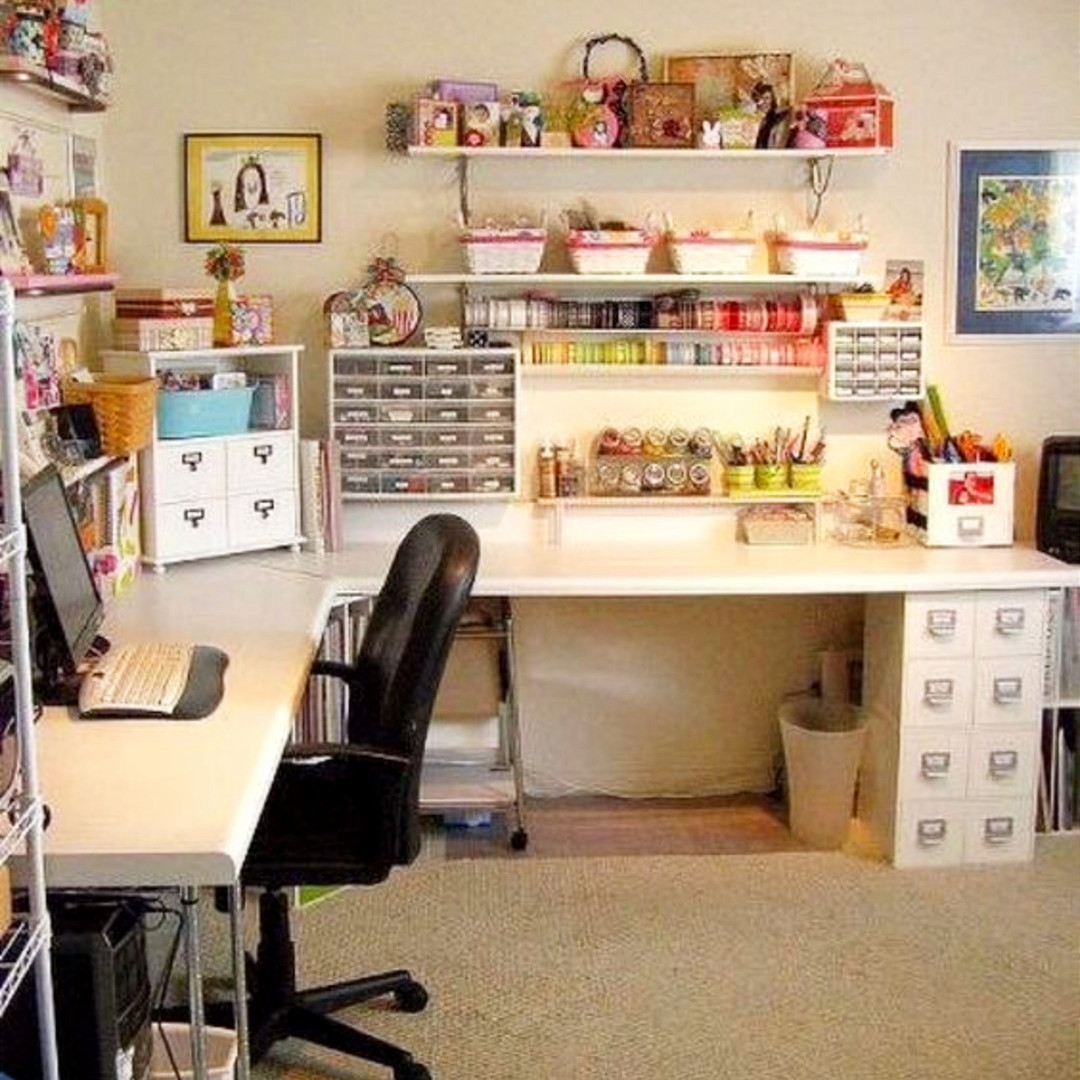
Plan: Choose a day to start. The first day you will need to spend an hour or two working, so plan accordingly. If you have a camera handy, take a “before” photo of your room. Set aside some time each day for the next week to organize your space. 30 minutes is ideal–it is long enough to make significant progress, but not so long that you can’t fit it into your schedule. If 15 or 45 minute sessions work better for you, that’s fine. The important thing is to spend a block of time each day. Once your craft room is clean and organized, you will be used to spending 30 minutes a day in the room. Keep that 30 minutes in your schedule as crafting time.
Get Organized! Follow the plan of attack below, regardless of the size of your room. For our purposes here, I will assume you have a dedicated craft room–and that it is a mess! If your area is smaller, and/or in better condition, the process is the same, but it will take you less time. Your craft space did not get messy in one day, and it will not get organized in one day either. Put aside a few hours to get started, then work in small blocks of time each day, You will be amazed at what you can accomplish in just 10, 15, or 30 minutes. You will succeed if you follow these directions–and you will love your “new” workspace!
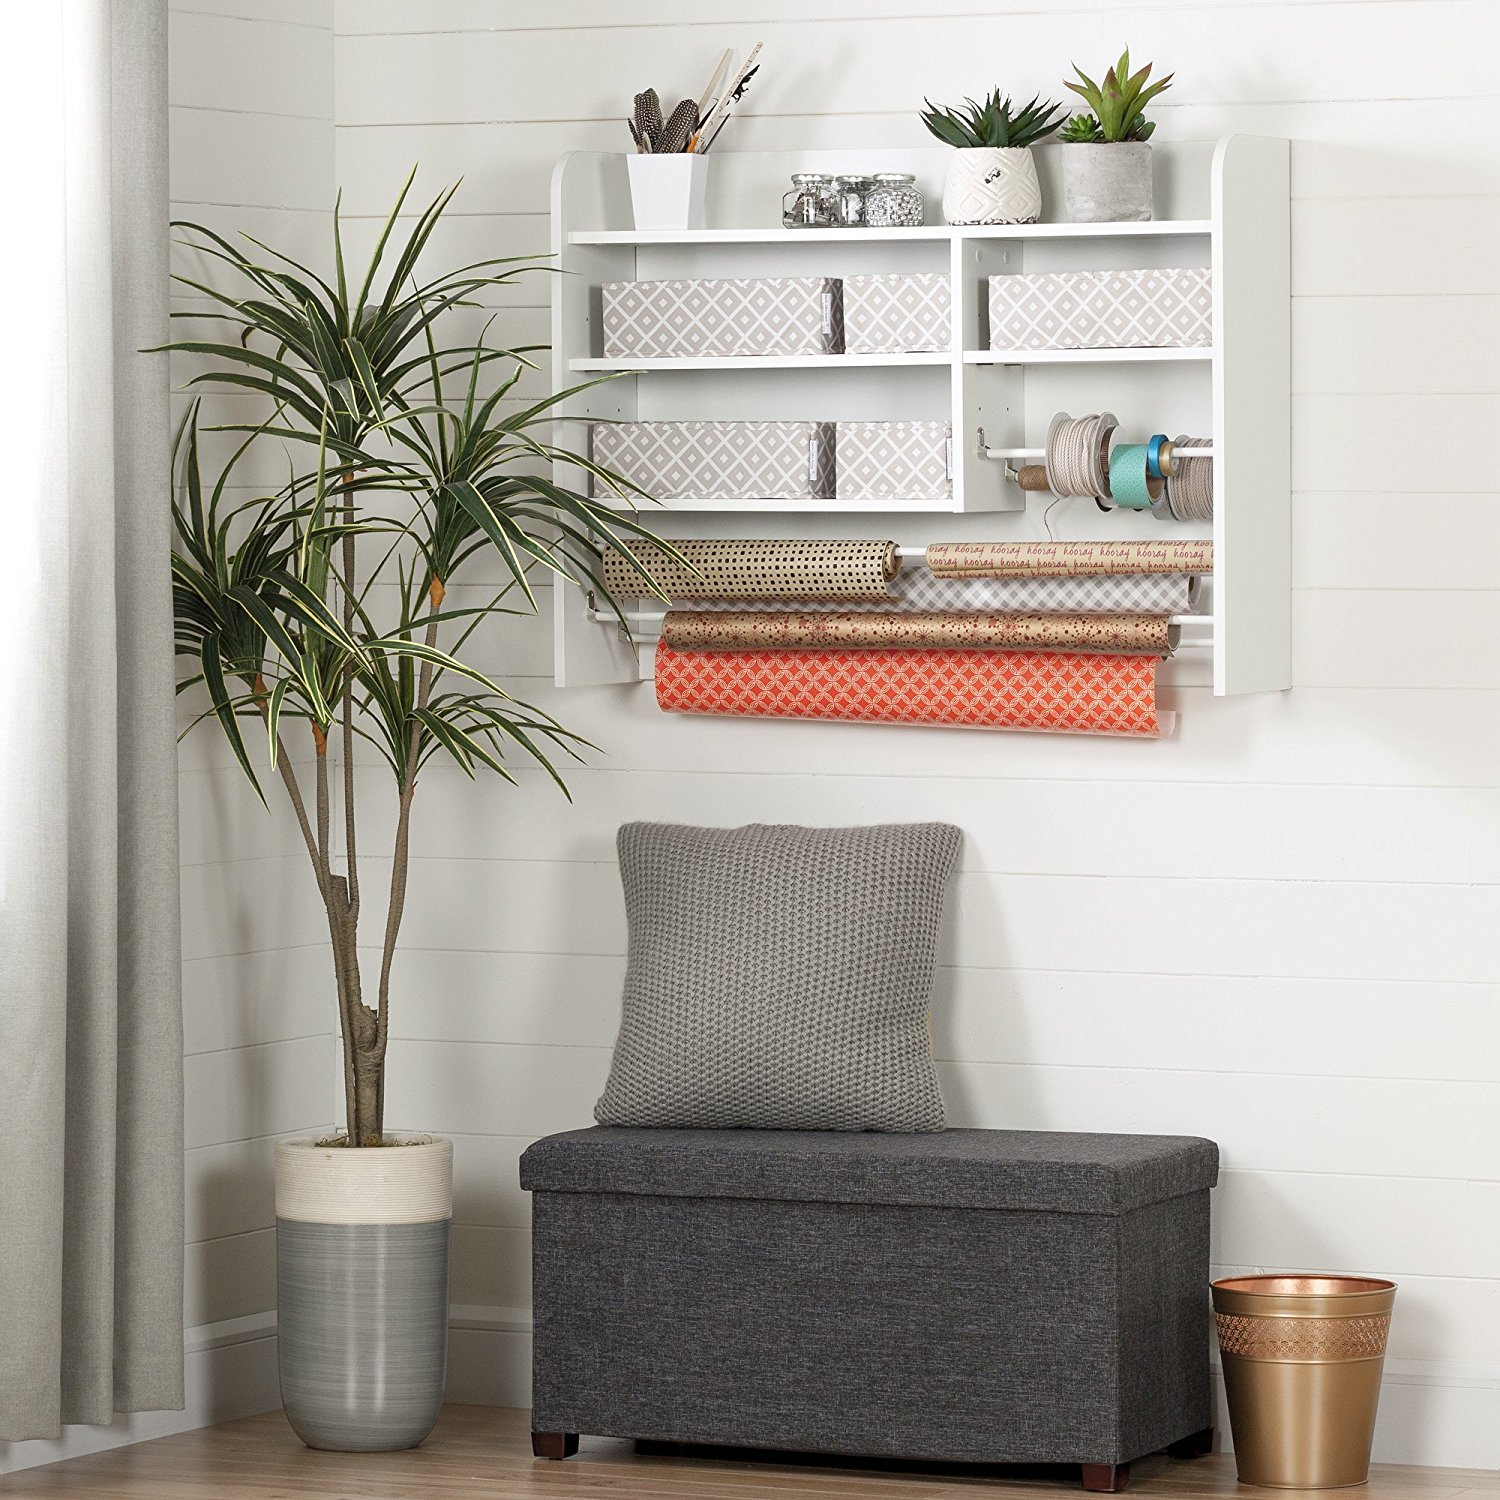
Day One:
Plan to spend 1-3 hours today, depending on the size of your room, and how much of a mess it is.
1. Gather your supplies.
You will need the following items:
Trash bags
1 large box for giveaway items
1 large box for returning items that do not belong in your craft space to their true homes
1 large box for temporarily storing items that will remain in your craft space
1 marker
Basic cleaning supplies
A kitchen timer
Assorted storage items Leave these items in the room until the room is complete. This way you will not have to hunt them down when you work, and you can spend your time organizing your craft supplies
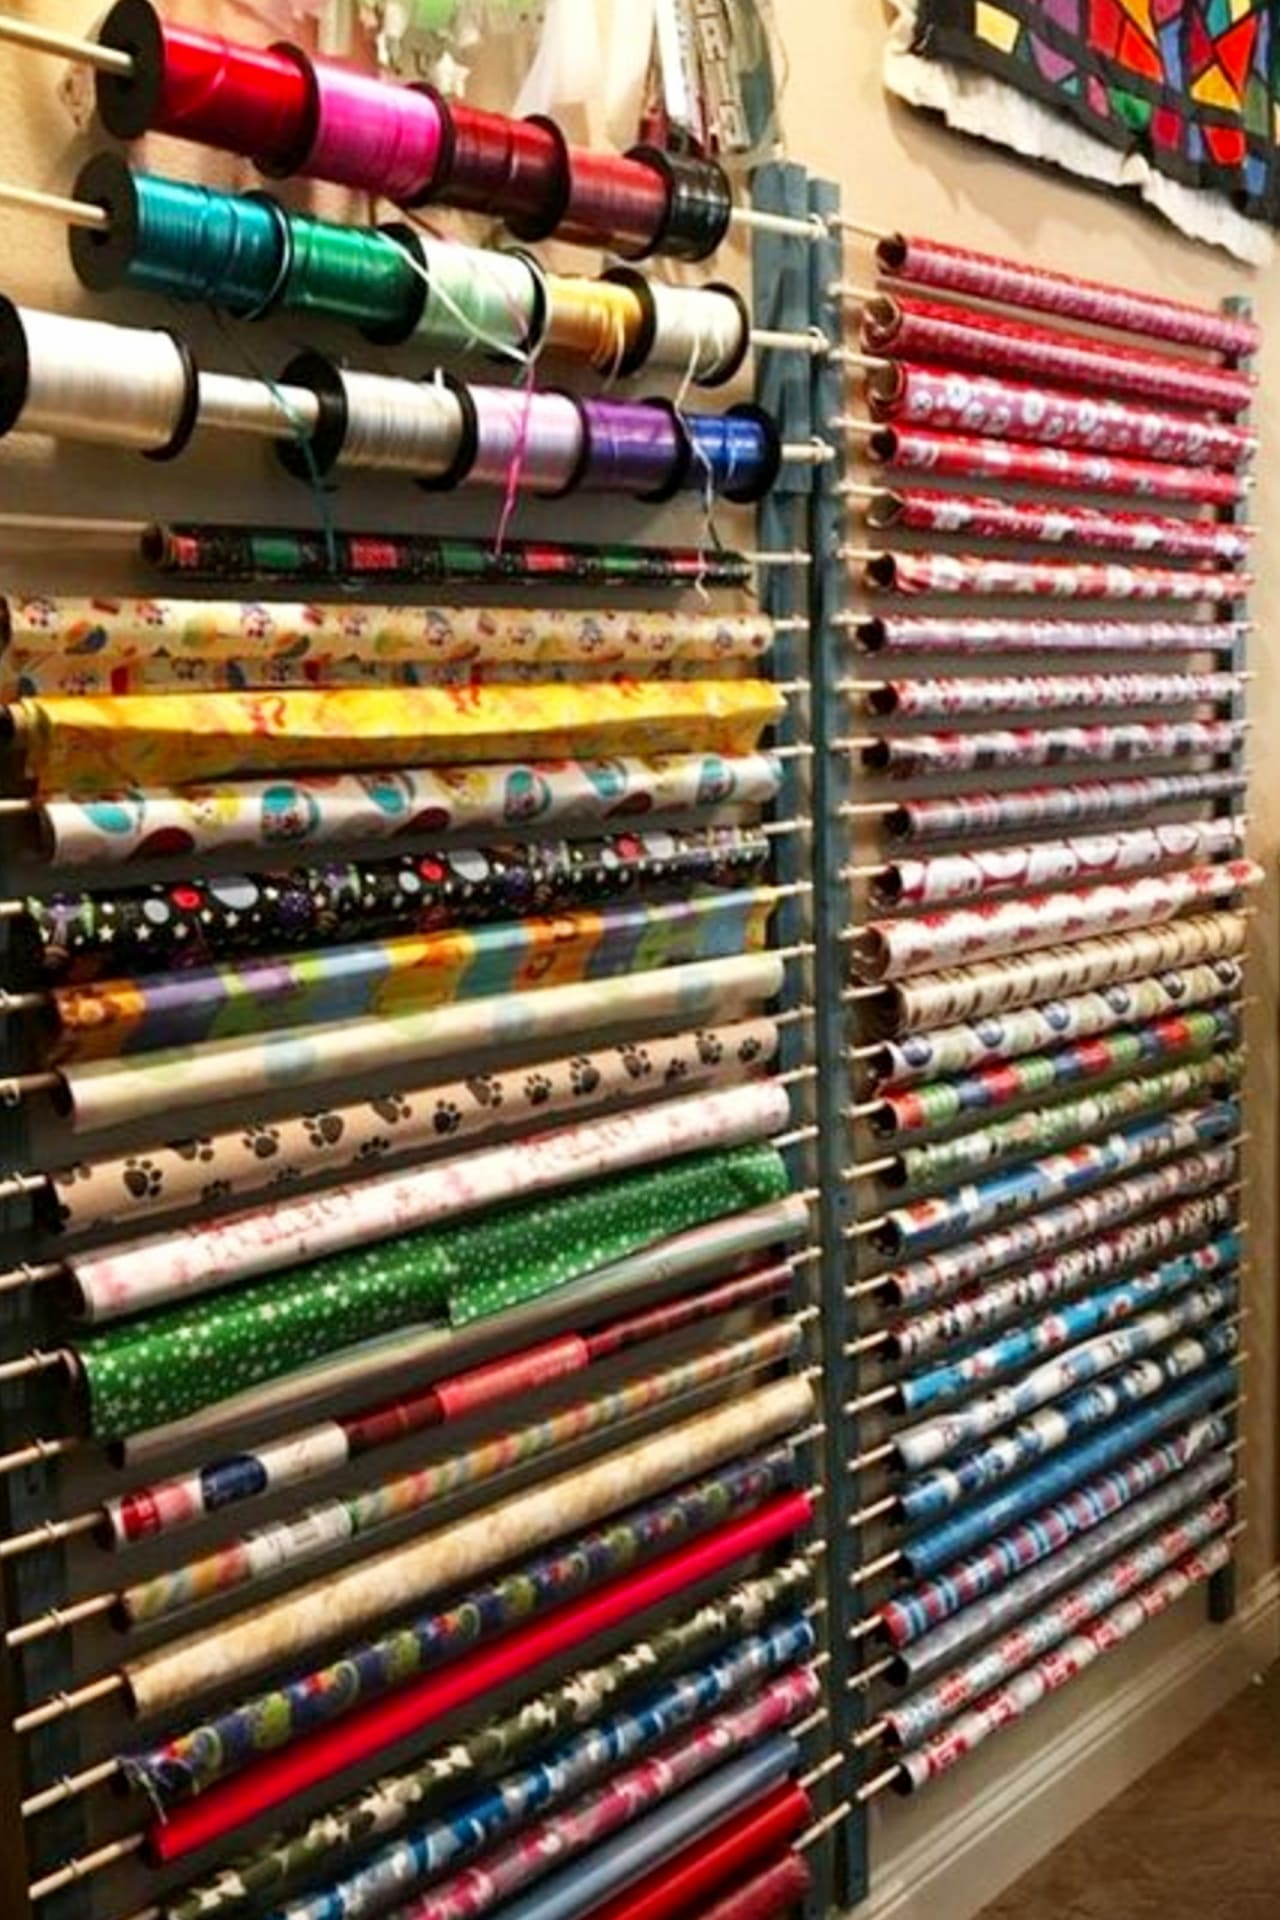
2. Label your boxes:
It may be evident today, but a month from now, will you remember which box is for keeping, and which is for giving away? Use a marker to label your boxes–“Give Away”, “Put Away” “Temporary Storage”
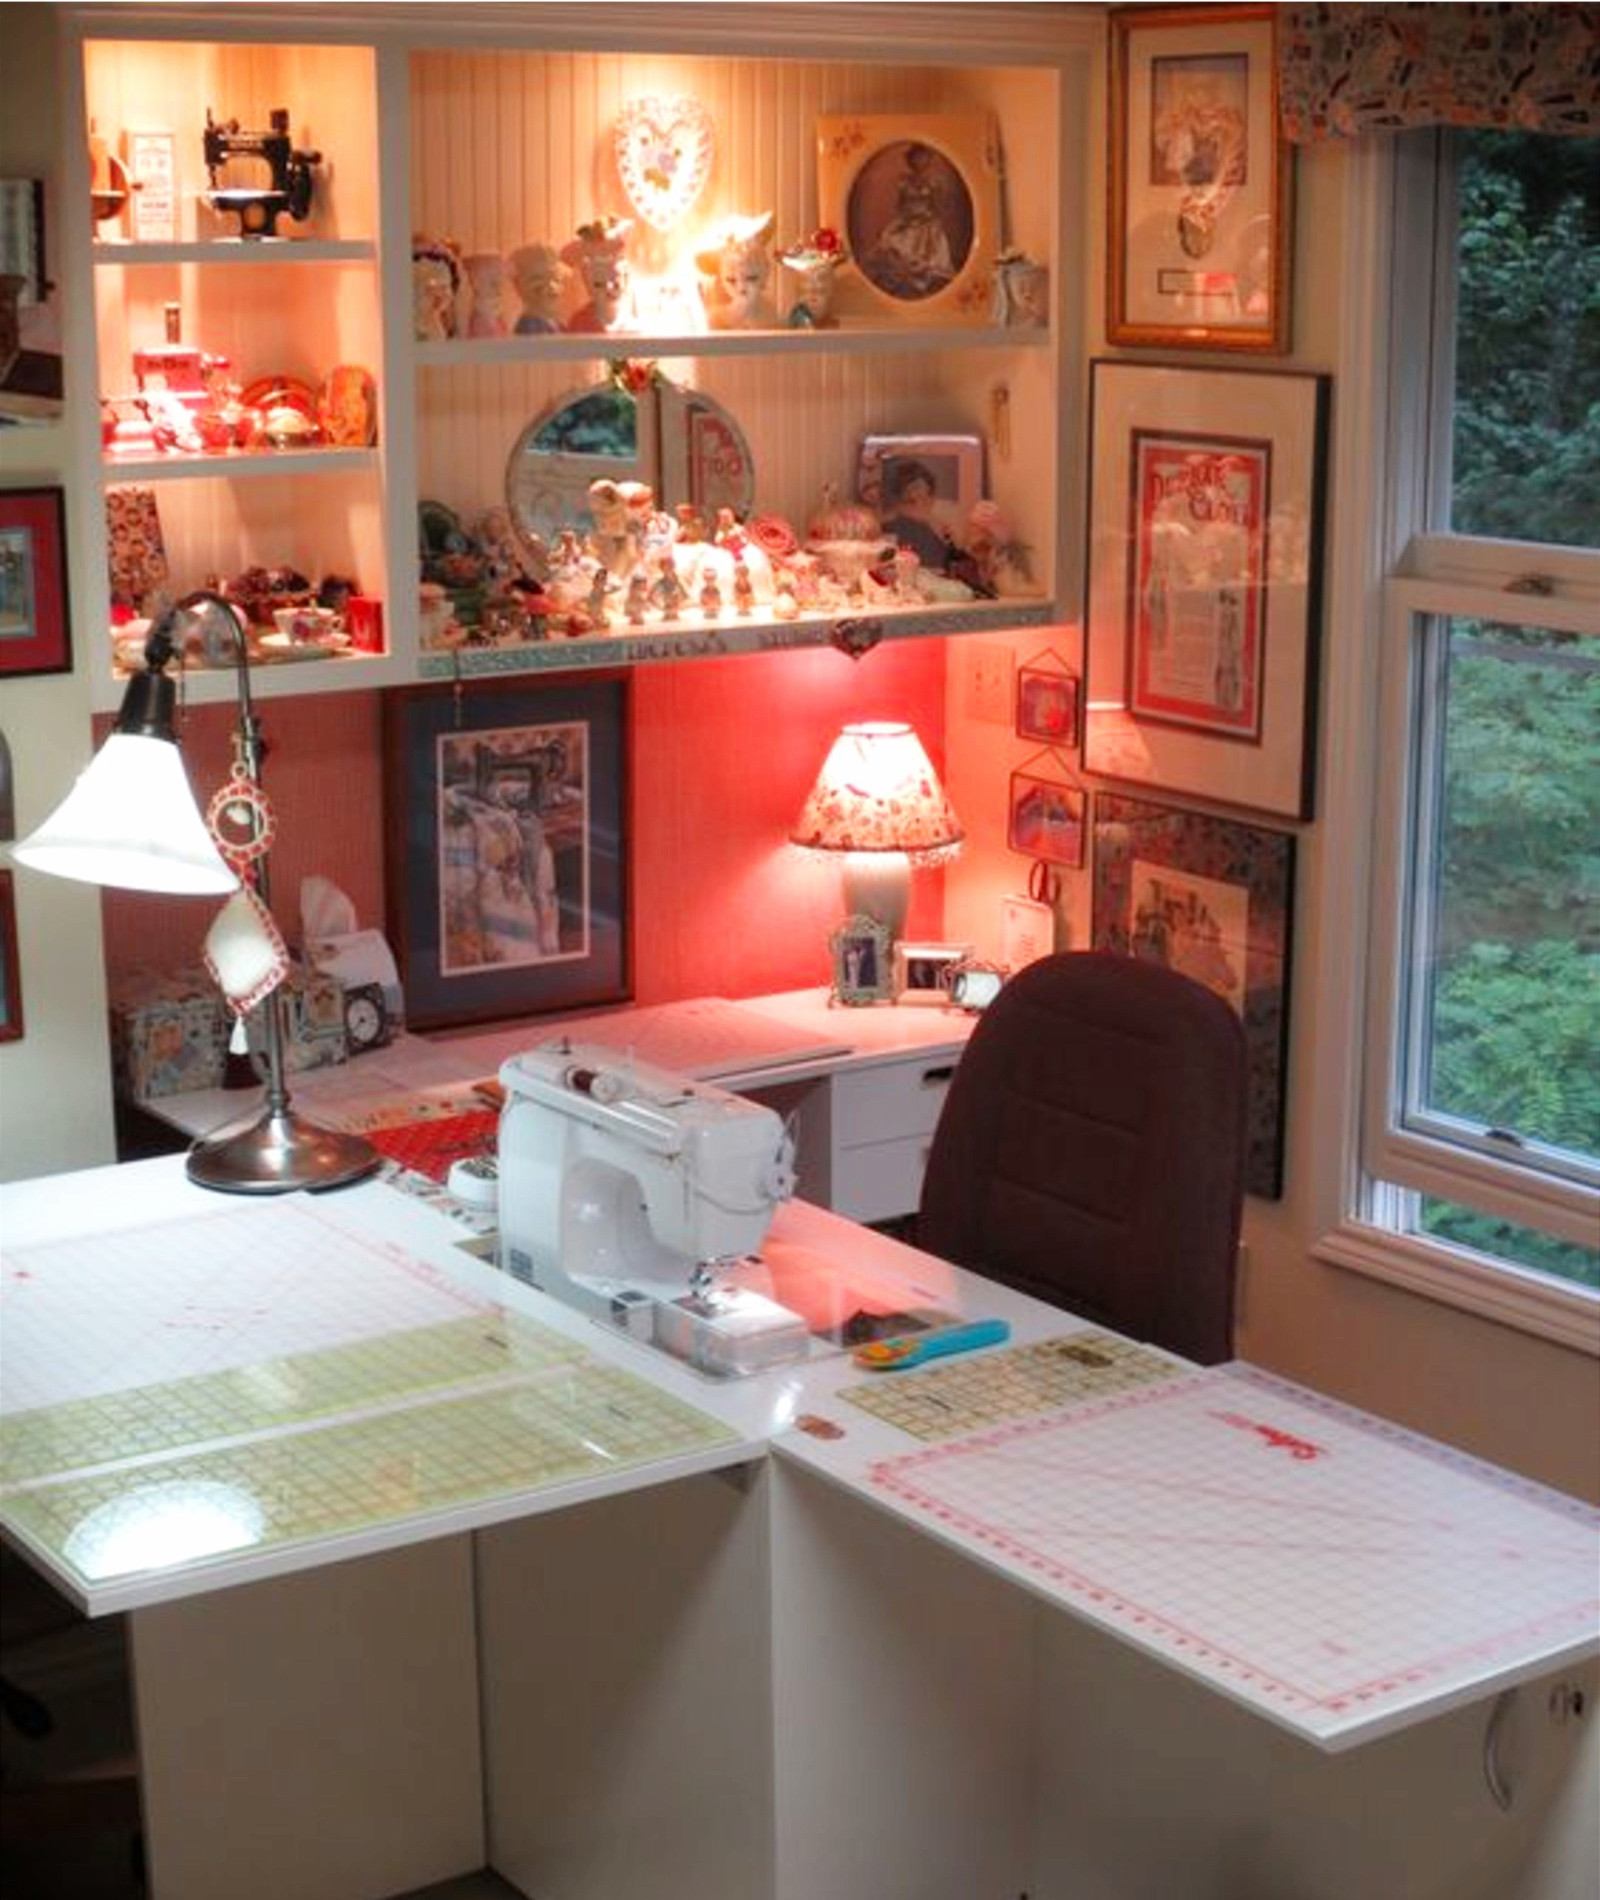
3. Clean the floor and tabletops:
Start by going around the room, and gathering any items that are on the floor, cluttering up table tops, or shoved under chairs and tables. Place all of these items in the “Temporary Storage” box. You will come back to them later, once you have made a home for them. If you see any obvious trash at this time–fabric scraps, paper, etc, place it in a trash bag. Put any items that have no place in your craft room–laundry, shoes, bills, etc, into the box marked “put away”. Your room should look better already!
That’s it for Day One–if you gathered a lot of trash, throw it away, and get a new bag for next time. Return any items in your “put away” box to their homes. Resist the temptation to begin cleaning and organizing the places you return items to–for right now, focus on your craft room!
[content-egg module=Amazon template=grid limit=3]
Day Two:
Plan to spend about an hour today, depending on the amount of “stuff” you need to store, and the amount of storage items you have.
Decide on how you will organize your craft room items, and where each thing will “live”.
Craft Supplies Storage DrawersShow Me ThisCraft Supplies Storage KitsShow Me ThisDesktop Supply OrganizersShow Me ThisStackable Cube OrganizersShow Me This
Many items probably have a home already, whether you chose it or not!
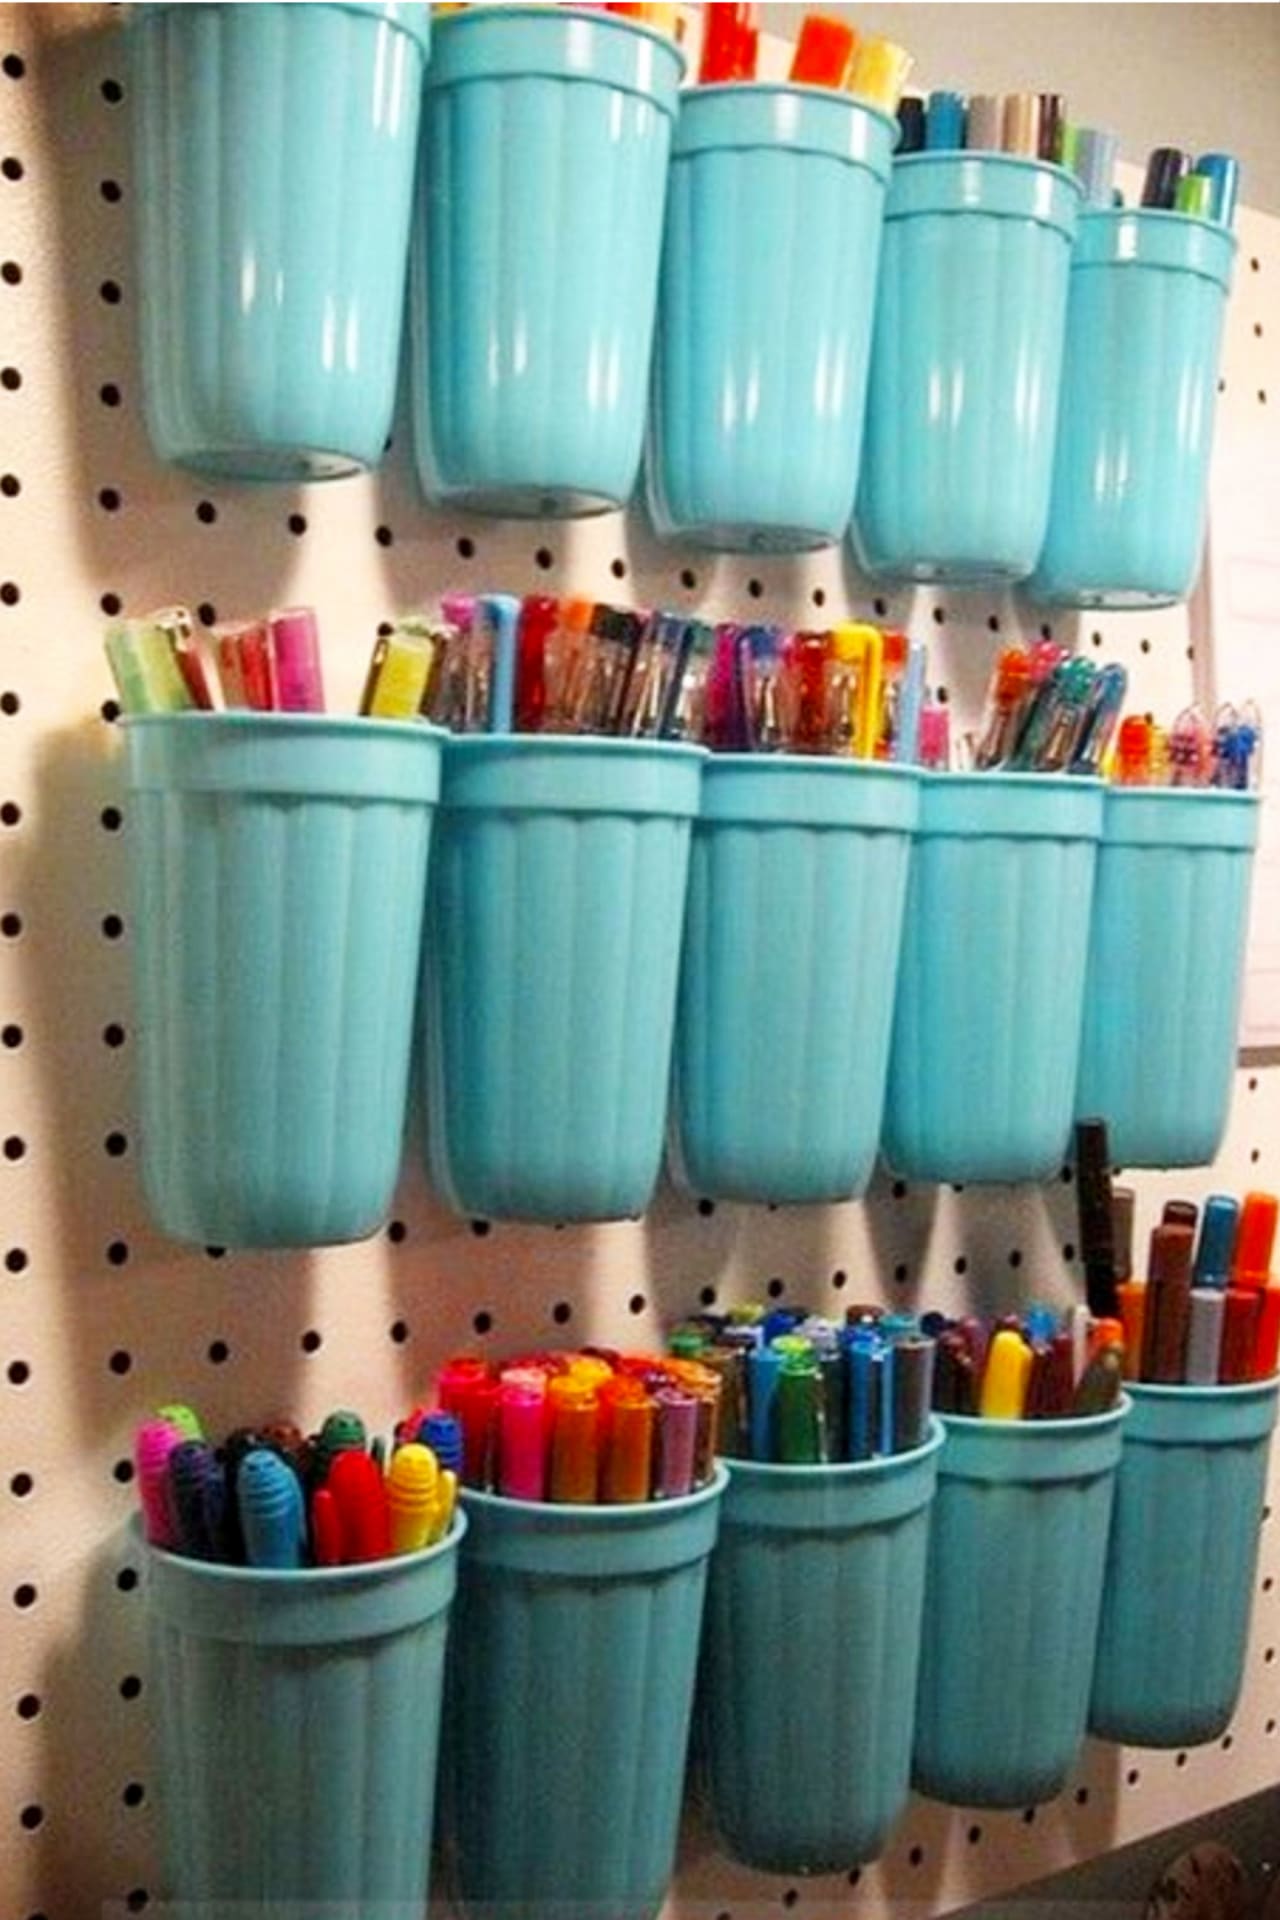
For example: If your pens and scissors constantly end up on your worktable, place a pretty mug or cup on the table to hold these items.
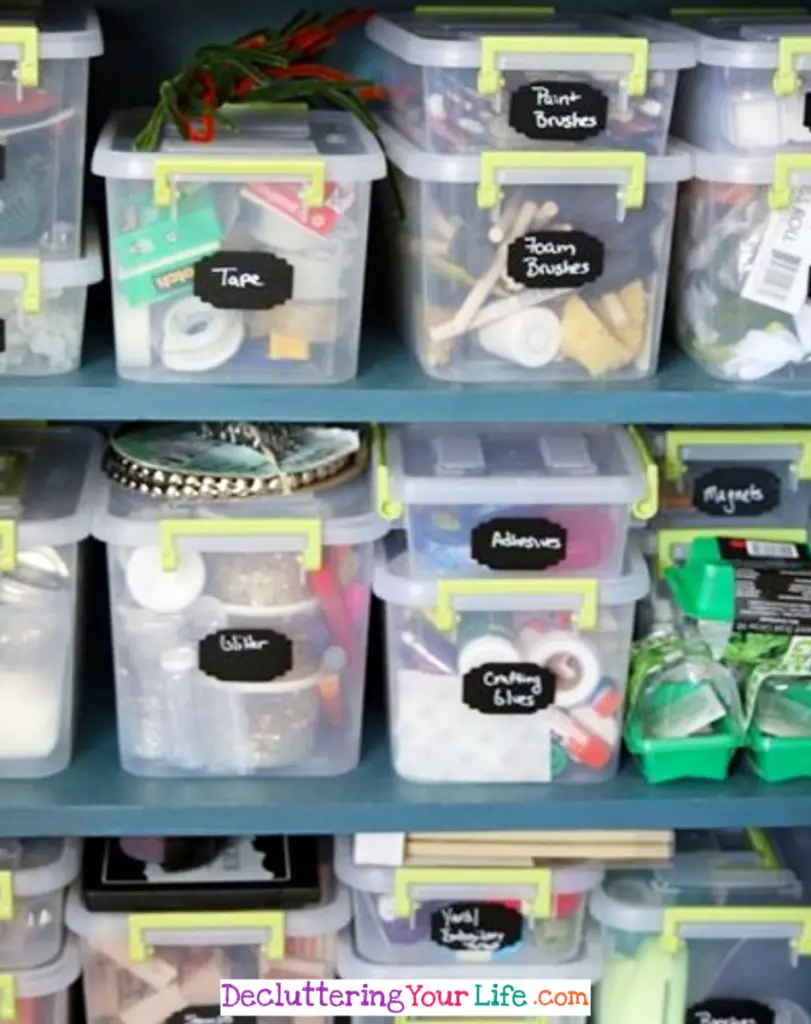
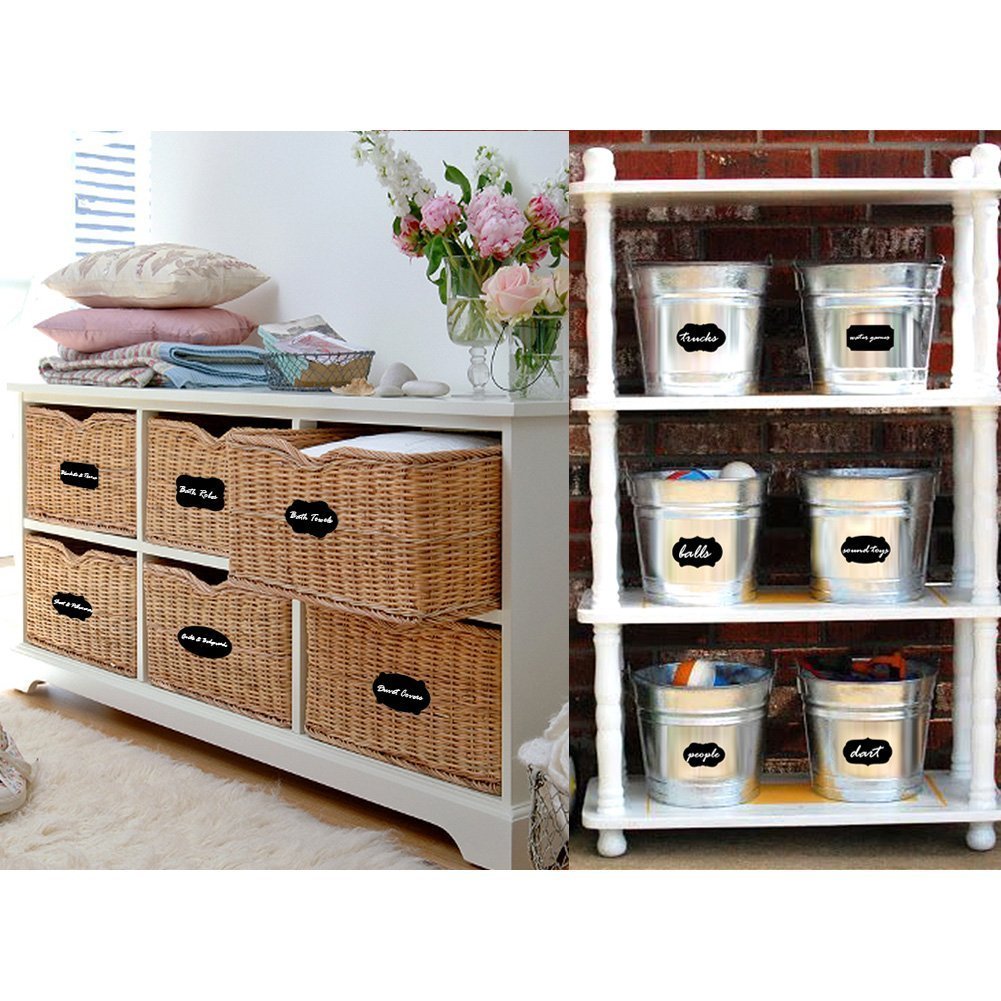
Use tackle boxes, shoeboxes, plastic crates–whatever works best, and looks best to you.
Label each storage item, and place the box where it will “live”, even if it is empty. You will fill these items as you work.
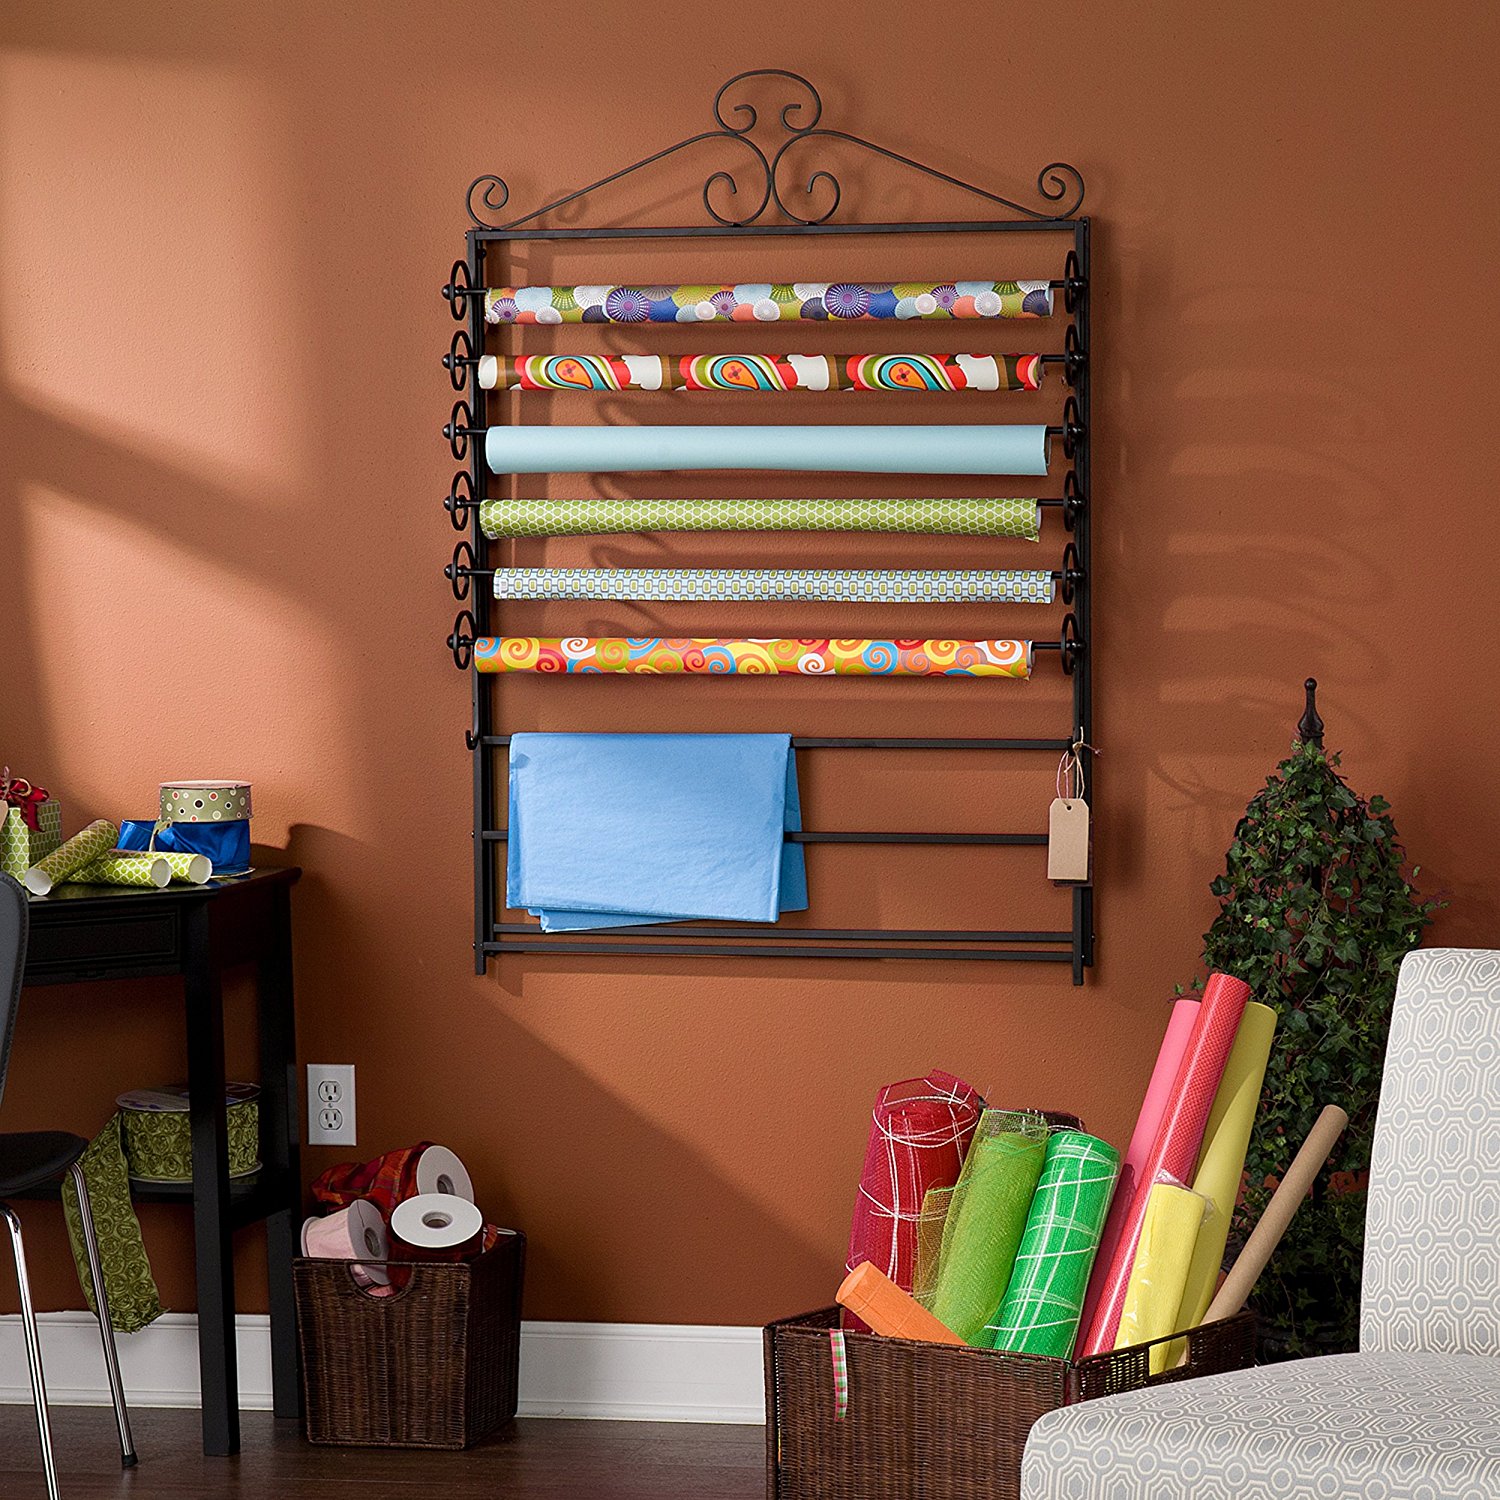
Days 3-7:
1. Set your timer for 30 minutes (or whatever time you have decided you can spare)
2. Start at the door of the room, and work your way around the room. Evaluate each item you find.
If it is trash, throw it away.
Place any items you don’t love, or can live without, in the “Give Away” box. Place any items that belong in other rooms of the house into the “Put Away” box.
If you have decided to keep an item, put it in the place you have chosen as its home. Do not skip any items–if you really can’t decide where an object should go, put it in the temporary storage box.
Rolling Craft Supply Storage Carts with DrawersShow Me ThisCraft Room Pegboard Organizer Wall KitsShow Me This
3. Work until the timer goes off.
When the “Give Away” box is full, remove it from the room. Close the box, and place it in the garage–or better yet, in your car, to drop off at its destination.
When the “Put Away” box is full, return the items to where they belong in your home.
Replace both boxes, so they are there for the next day. If needed, throw away the trash bag, and get a new one.
Optional: If you have additional time during the day, continue working where you left off–in five, ten, or fifteen minutes, you can clear off a shelf, go through a “mystery box” of supplies, or return several items to their homes. You can also remove items from the temporary storage box as you find homes for them.
4. Continue putting in 30 minutes each day. If you have more time on the weekend, and want to spend more time organizing, do so in larger chunks of time. The important thing is to keep working on it every day.
5. If you work on projects while this cleanup is progressing put the items away when you are done with them.
[content-egg module=Amazon template=grid next=3]
When you have finished: Every room is different, so for some folks the organization process will take a few days, others will need a whole week or longer. Once you have worked your way entirely around the room start going through the remaining items in your “Temporary Storage” box.
Use as many extra days as you need to put away the items left in the temporary storage box. Depending on the amount and size of your items, this may take a few minutes, or a few days.
Run the vacuum or sweep the floor. Remove the boxes and enjoy your new workspace!
If your room has a closet, you can use the same organizational system on the closet, once the rest of the room is complete. Do not remove more items than you can put away in a 30-minute period.
Maintenance: Look around your room. If you took a “before” photo–take an “after” photo too–you will be amazed at the difference!
To keep your craft space looking as well as it does now; daily maintenance is a must.
Put away items when you are done with them. Set your timer, and spend five minutes at the end of each day returning stray items to their homes.
It will not take you long, and your craft room will continue to be a beautiful, welcoming space you will enjoy spending time in.
[content-egg module=Amazon template=grid next=3]
[content-egg module=Amazon template=list limit=3]
More Craft Supply Storage Ideas
- Cute Baby Shower Basket Ideas For a CHEAP Homemade Gift
- Party Finger Food Ideas – Budget Friendly Make Ahead Nibbles, Dips and Appetizer Platters
- Brunch Food Ideas To WOW Your Party Crowd (recipes from our Mother’s Day potluck)
- Make Ahead Dinners – 19 Easy Throw Together Crockpot Meals With VERY Few Ingredients


